May 14, 2020, by Digital Research
Using photogrammetry to create digital rooms and landscapes
In a previous blog post, we introduced an easy way to create digital 3D models. It is also very easy to capture physical environments in 3D. You can do this using free tools and just a smartphone or basic camera.
There are plenty of reasons for researchers to want to capture environments, from disciplines such as Archaeology, where researchers race to preserve fragile historic sites, to participant-based research where future lab studies might take place in virtual environments. In the current lock-down, virtual visits are also becoming popular: see this article for a selection of great interactive tours of British museums created thanks to panoramic photogrammetry.
To make a digital version of a room or landscape the photographer stands on one spot and rotates, taking photos of the environment in many directions. These images are then stitched into one large panoramic image, which can be made interactive and shared via the web.
Step 1: Capture
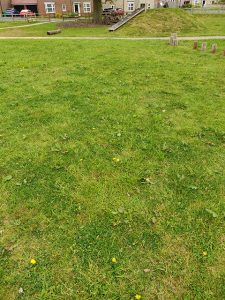
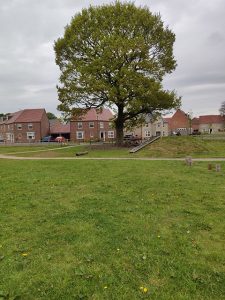
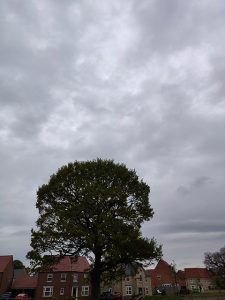
We began by finding a viewpoint, then rotating several times on the spot, stopping regularly to take photos with a smartphone. We stopped roughly every 45-degree turn (so about eight photos per rotation) and made one rotation with the phone pointing downwards (to capture the ground), one pointing straight out from our body (to capture the front view), and one pointing upwards (to capture the sky or ceiling). This produced 24 images of the environment. As you can see in the examples below, you need the images to have a little overlap.
 |
 |
 |
We used a smartphone, but a dedicated camera with a wide-angle lens will do a great job, and a 360-degree camera can capture the entire scene in one shot, allowing us to skip the next step.
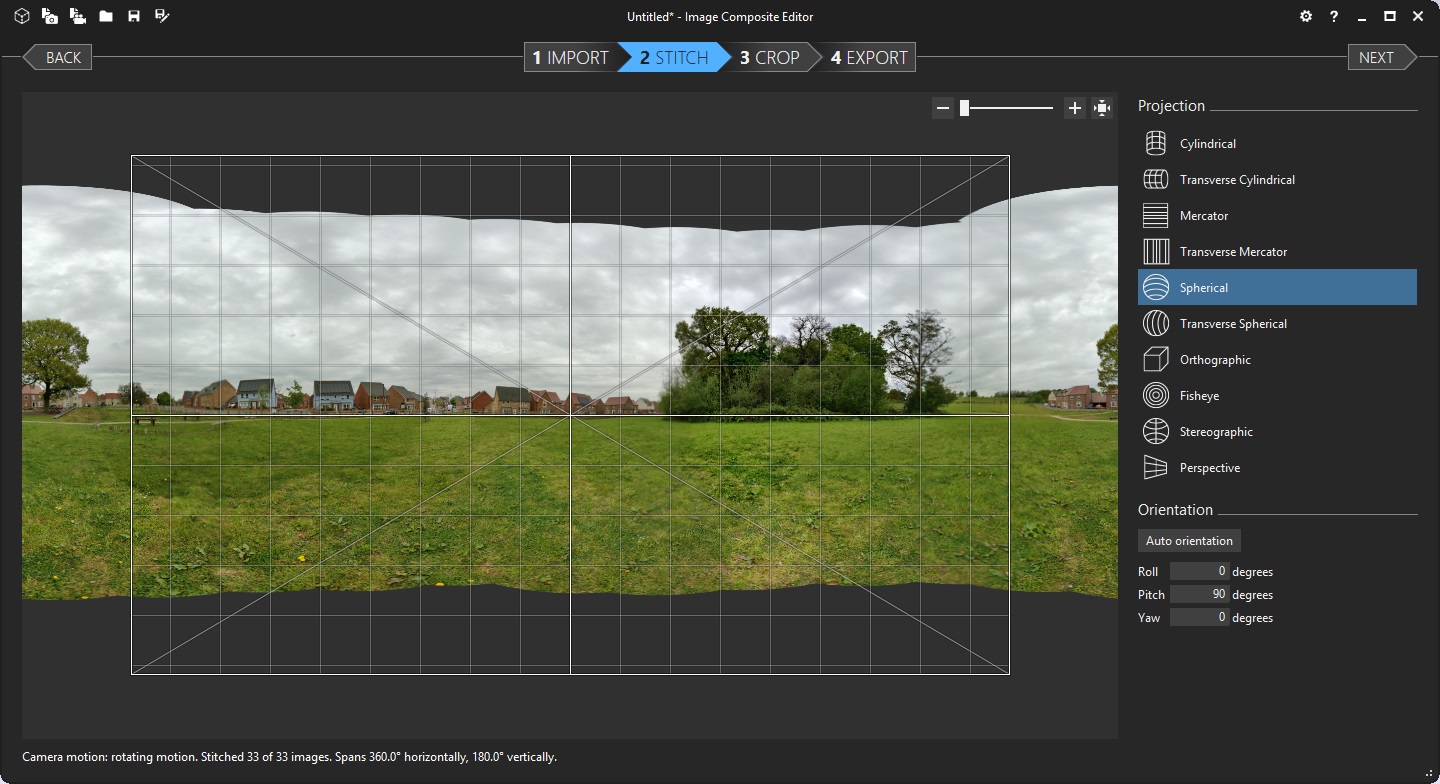
Step 2: Stitch
After transferring the images via our UoN OneDrive account from our smartphone to our computer, we used the free Image Composite Editor from Microsoft Research to stitch the images together into one panoramic image.
The stitching process uses computer vision techniques to align and combine the images, which can take some time depending on the size of your photos and the capabilities of your computer: our 24 smartphone images were combined in about thirty seconds.
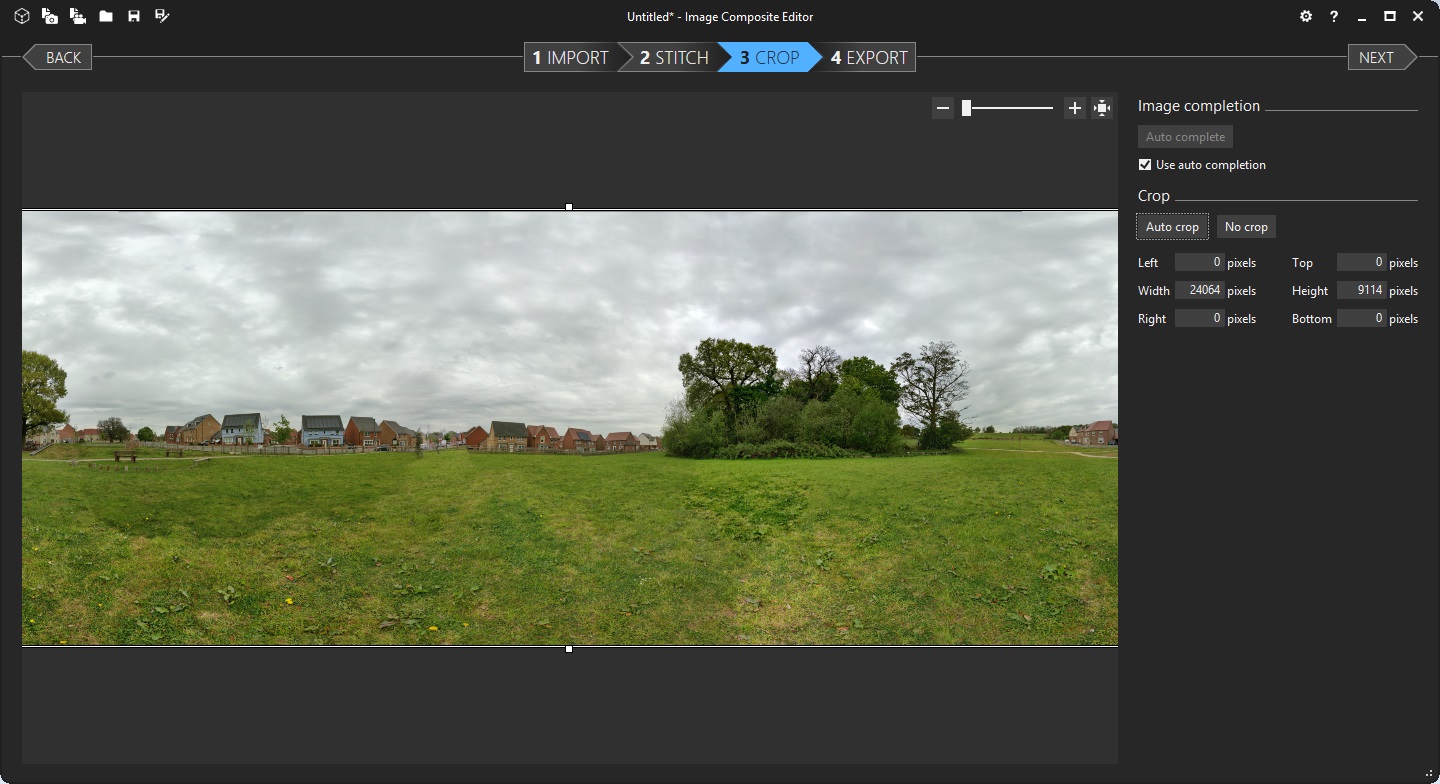
The software allows us to correct issues with wonky horizons or odd focal points and will automatically fill in gaps, e.g. by adding extra sky and grass.
Step 3: Enhance
Finally, we used the free, web-based tool Marzipano, which loads our panoramic image and produces an interactive web-app without needing to download any software. The Marzipano tool uses a web browser to chop the image up into tiles and paste these to the inside faces of a 3D cube. This took a few minutes on our computer, but it is reassuring to see it being built in real-time.
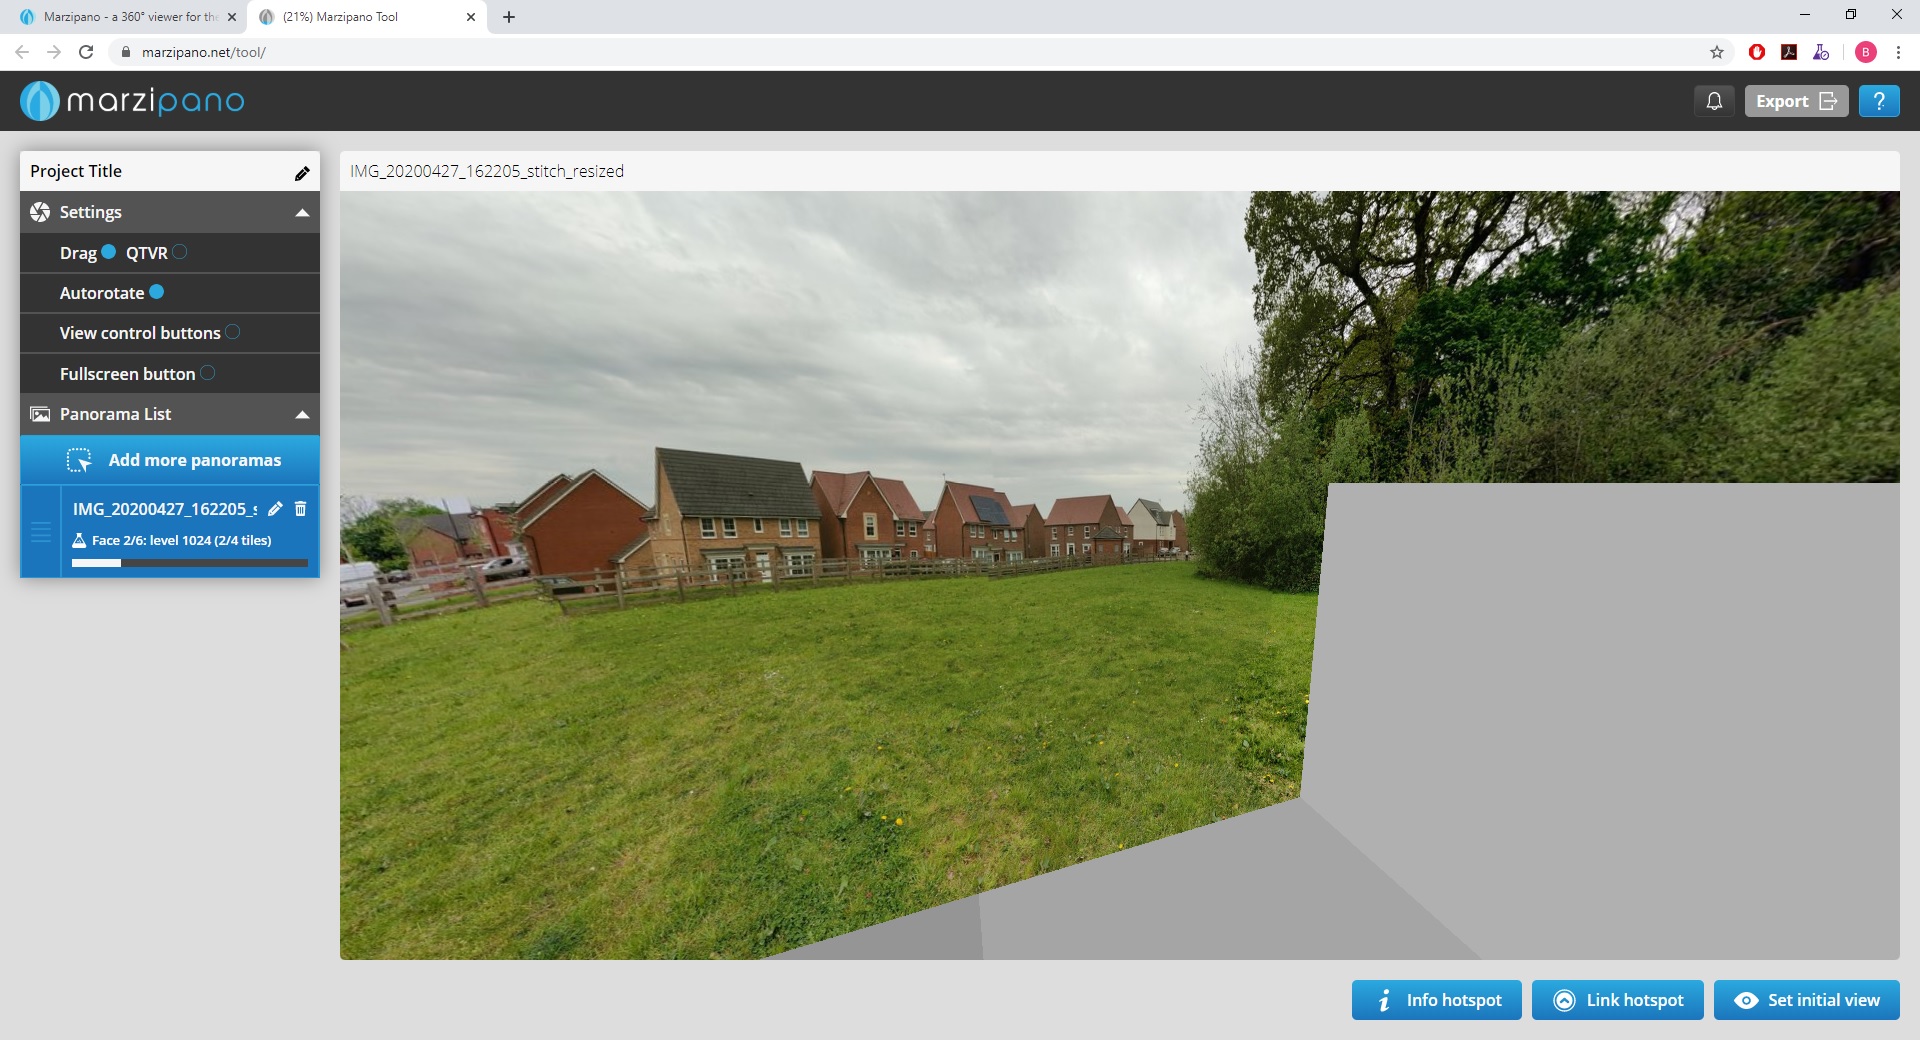
We also added “info hotspots” to annotate the environment with text and then exported the environment as a package of web pages to our computer. It is possible to open these directly on our computer, but the real value is in sharing them online for others to explore.
Step 4: Share
Publishing your environment on the web is the only step in the process that may cost you money, as you will need to use a web hosting service. The package of web pages produced by Marzipano is designed to be transferred “as-is” to your web host and we took a minute to do that with our example, which you can explore in full-screen here.
Dr Jo Robinson from the Faculty of Arts has already used this process to capture Bromley House Library (covered in this blog post). The results are far more interesting than our simple example above, and can be explored by clicking here. This virtual Bromley House – also produced using Marzipano – is a great example of how multiple panoramas can be combined to create a complex virtual environment.
If you are interested in photogrammetry or one of the tools discussed above, please get in touch with a Digital Research Specialist.
Sorry, comments are closed!