April 13, 2014, by Eve
How to Make Cards Without Money
A friend’s birthday is an inevitability; the more friends you have the greater the chance of upcoming birthdays. Now you will need to find some kind of offering to present them with – a token, a symbol of your friendship and an unspoken contract that they’d better get you something when it’s your turn. So is the happy circle of friendship.
Now living on a student budget, it is not always possible to spend £4 on a fancy super-cool photo or hilariously funny card from Paperchase (AKA stationary heaven) – you’ve got to budget in a present, something to drink at their party, the taxi fare home, a new pair of shoes to match your new party dress! But you want to make sure they get a good card – so why not make a card?
First, you need a basic card-making corner: coloured pens, paper, old folder dividers, glue, cellotape, string or thread, pencils and pens. As for accessories, start looking round your room and you’ll easier find something craftible (not crafty, beware the crafty things in your room); an old T-shirt, a single earring, old laces, wrapping paper, old newspaper, tissue paper, tin foil, a couple of homeless beads or an old card from an old friend (make sure it’s not the friend you’re making the card for!)
Right –make sure you have a base to make your card from – coloured paper or card (a trimmed divider or folder can come in handy here). You can go for the general ‘folded paper = card’ but there are other options. Today I give you two basic types:
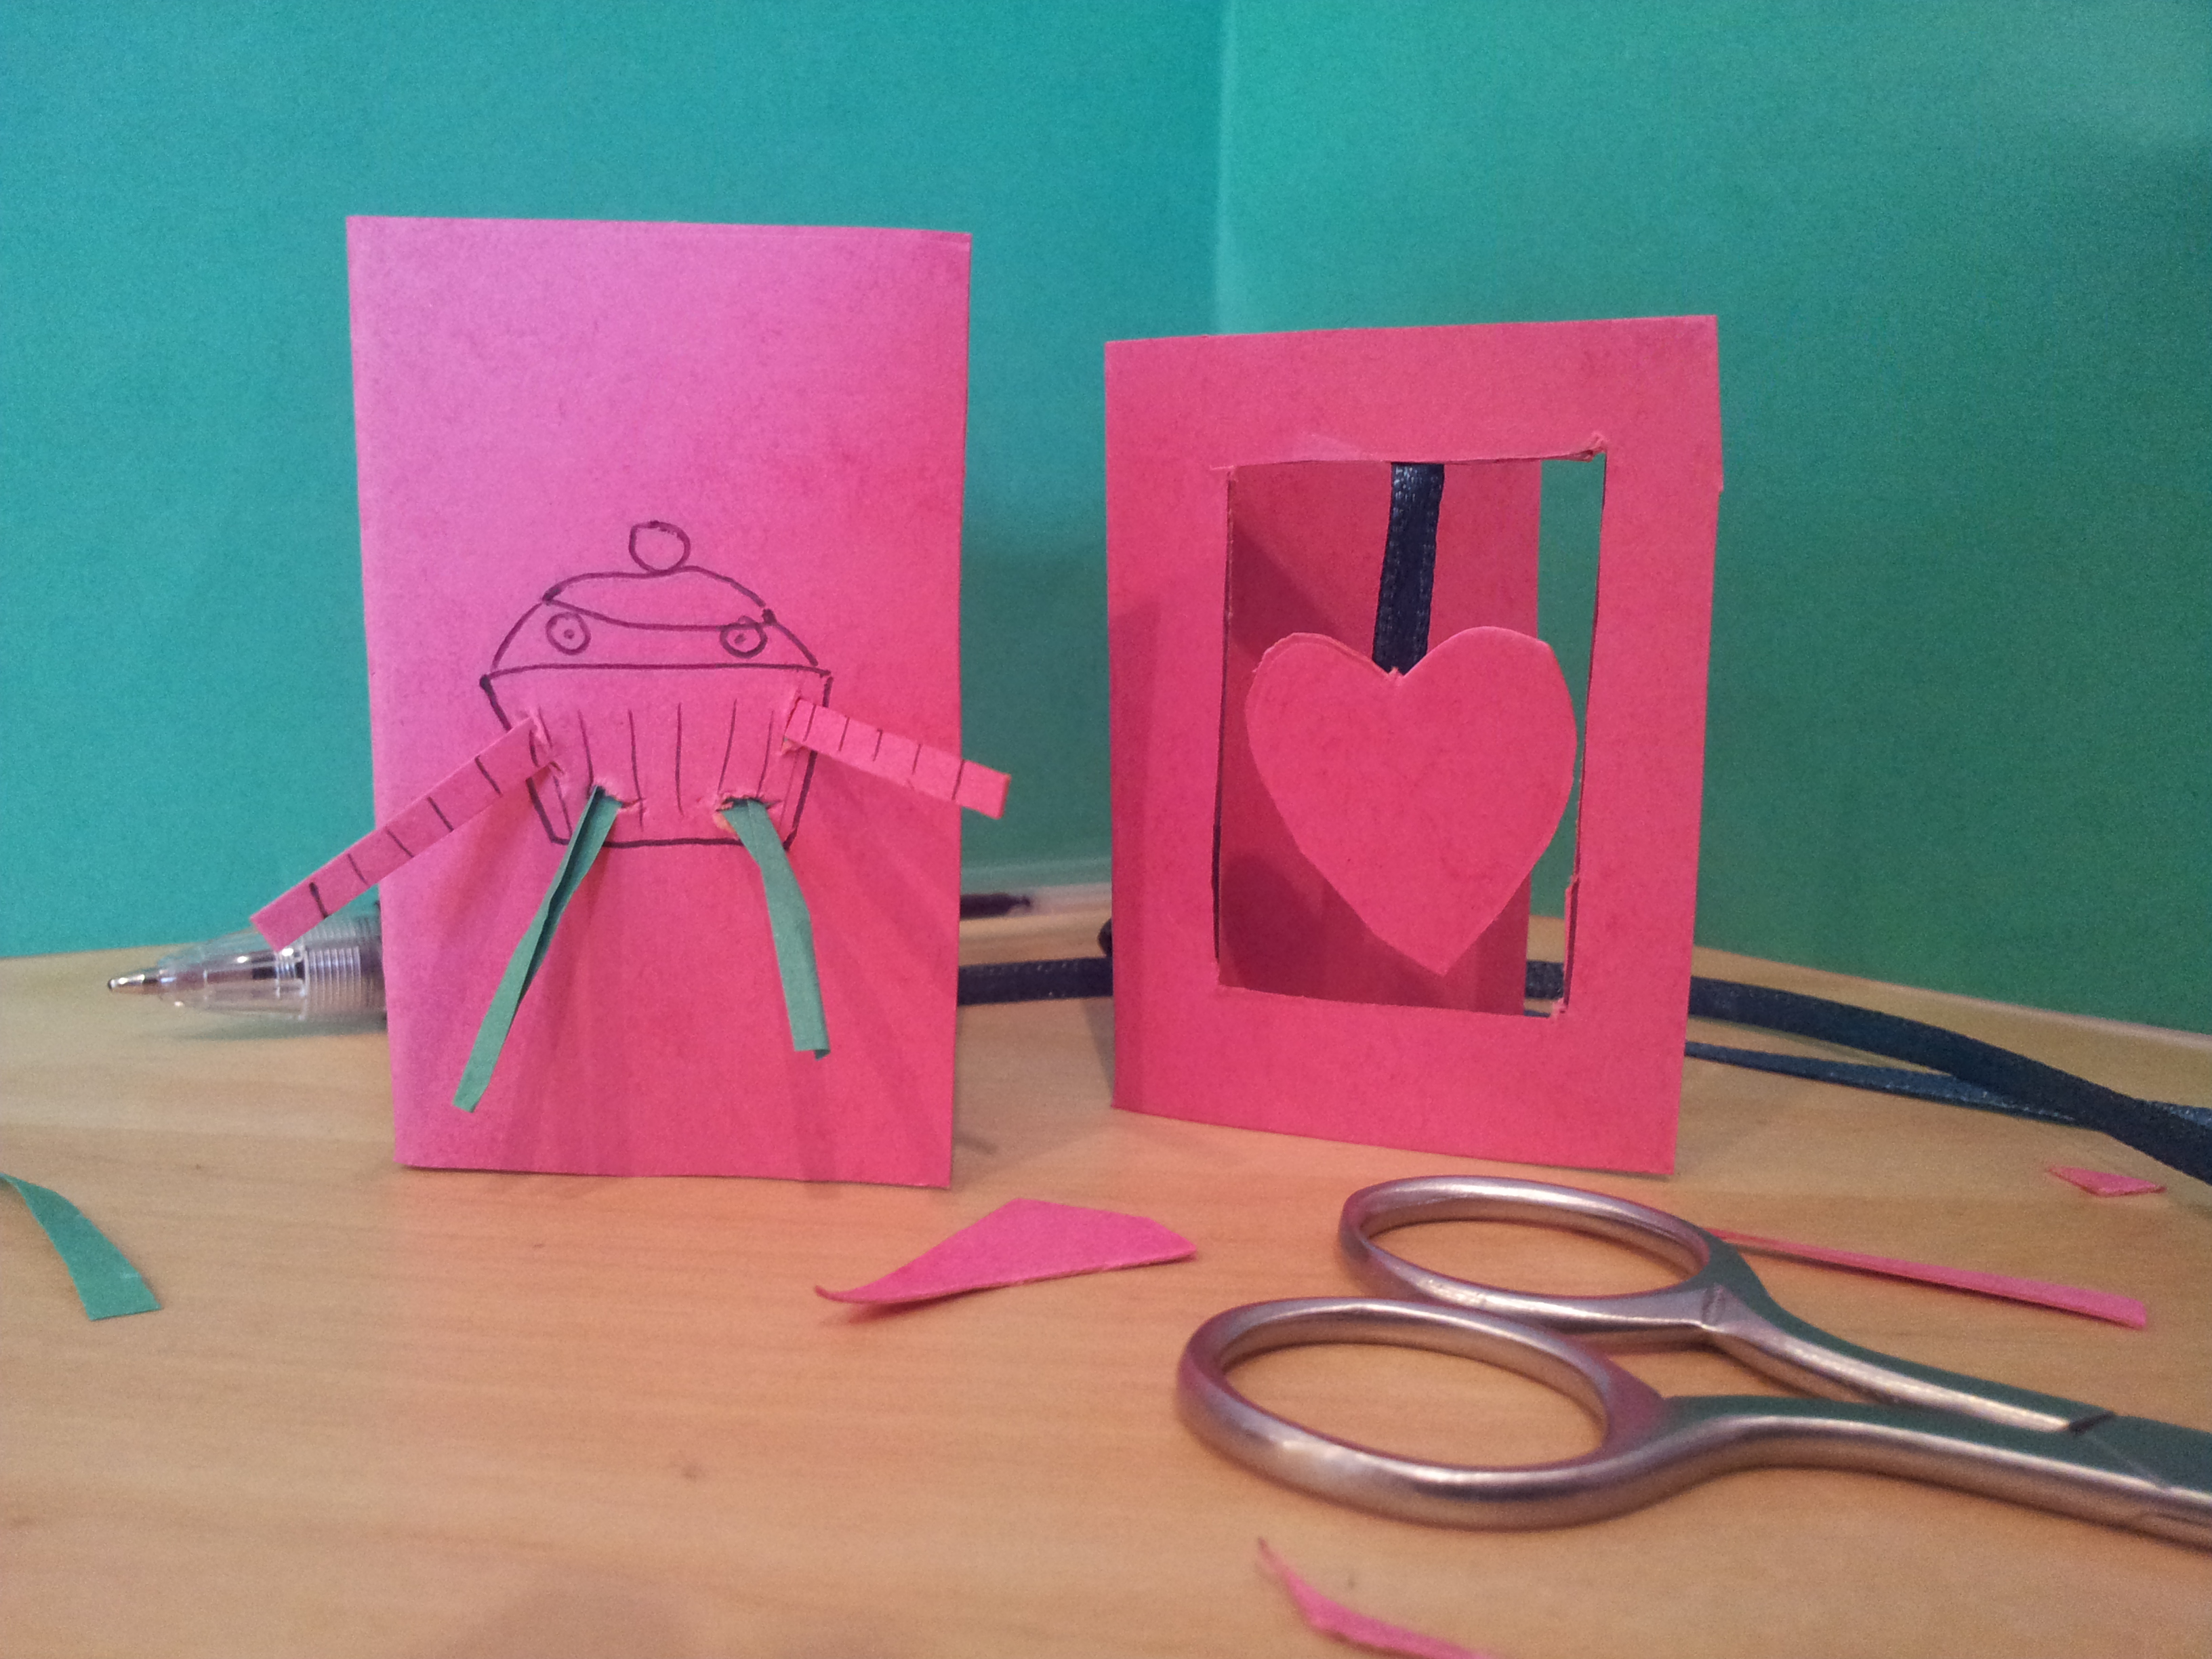
The Swinging Card.
1. Cut out a largish square from the front of your card so it becomes a frame. 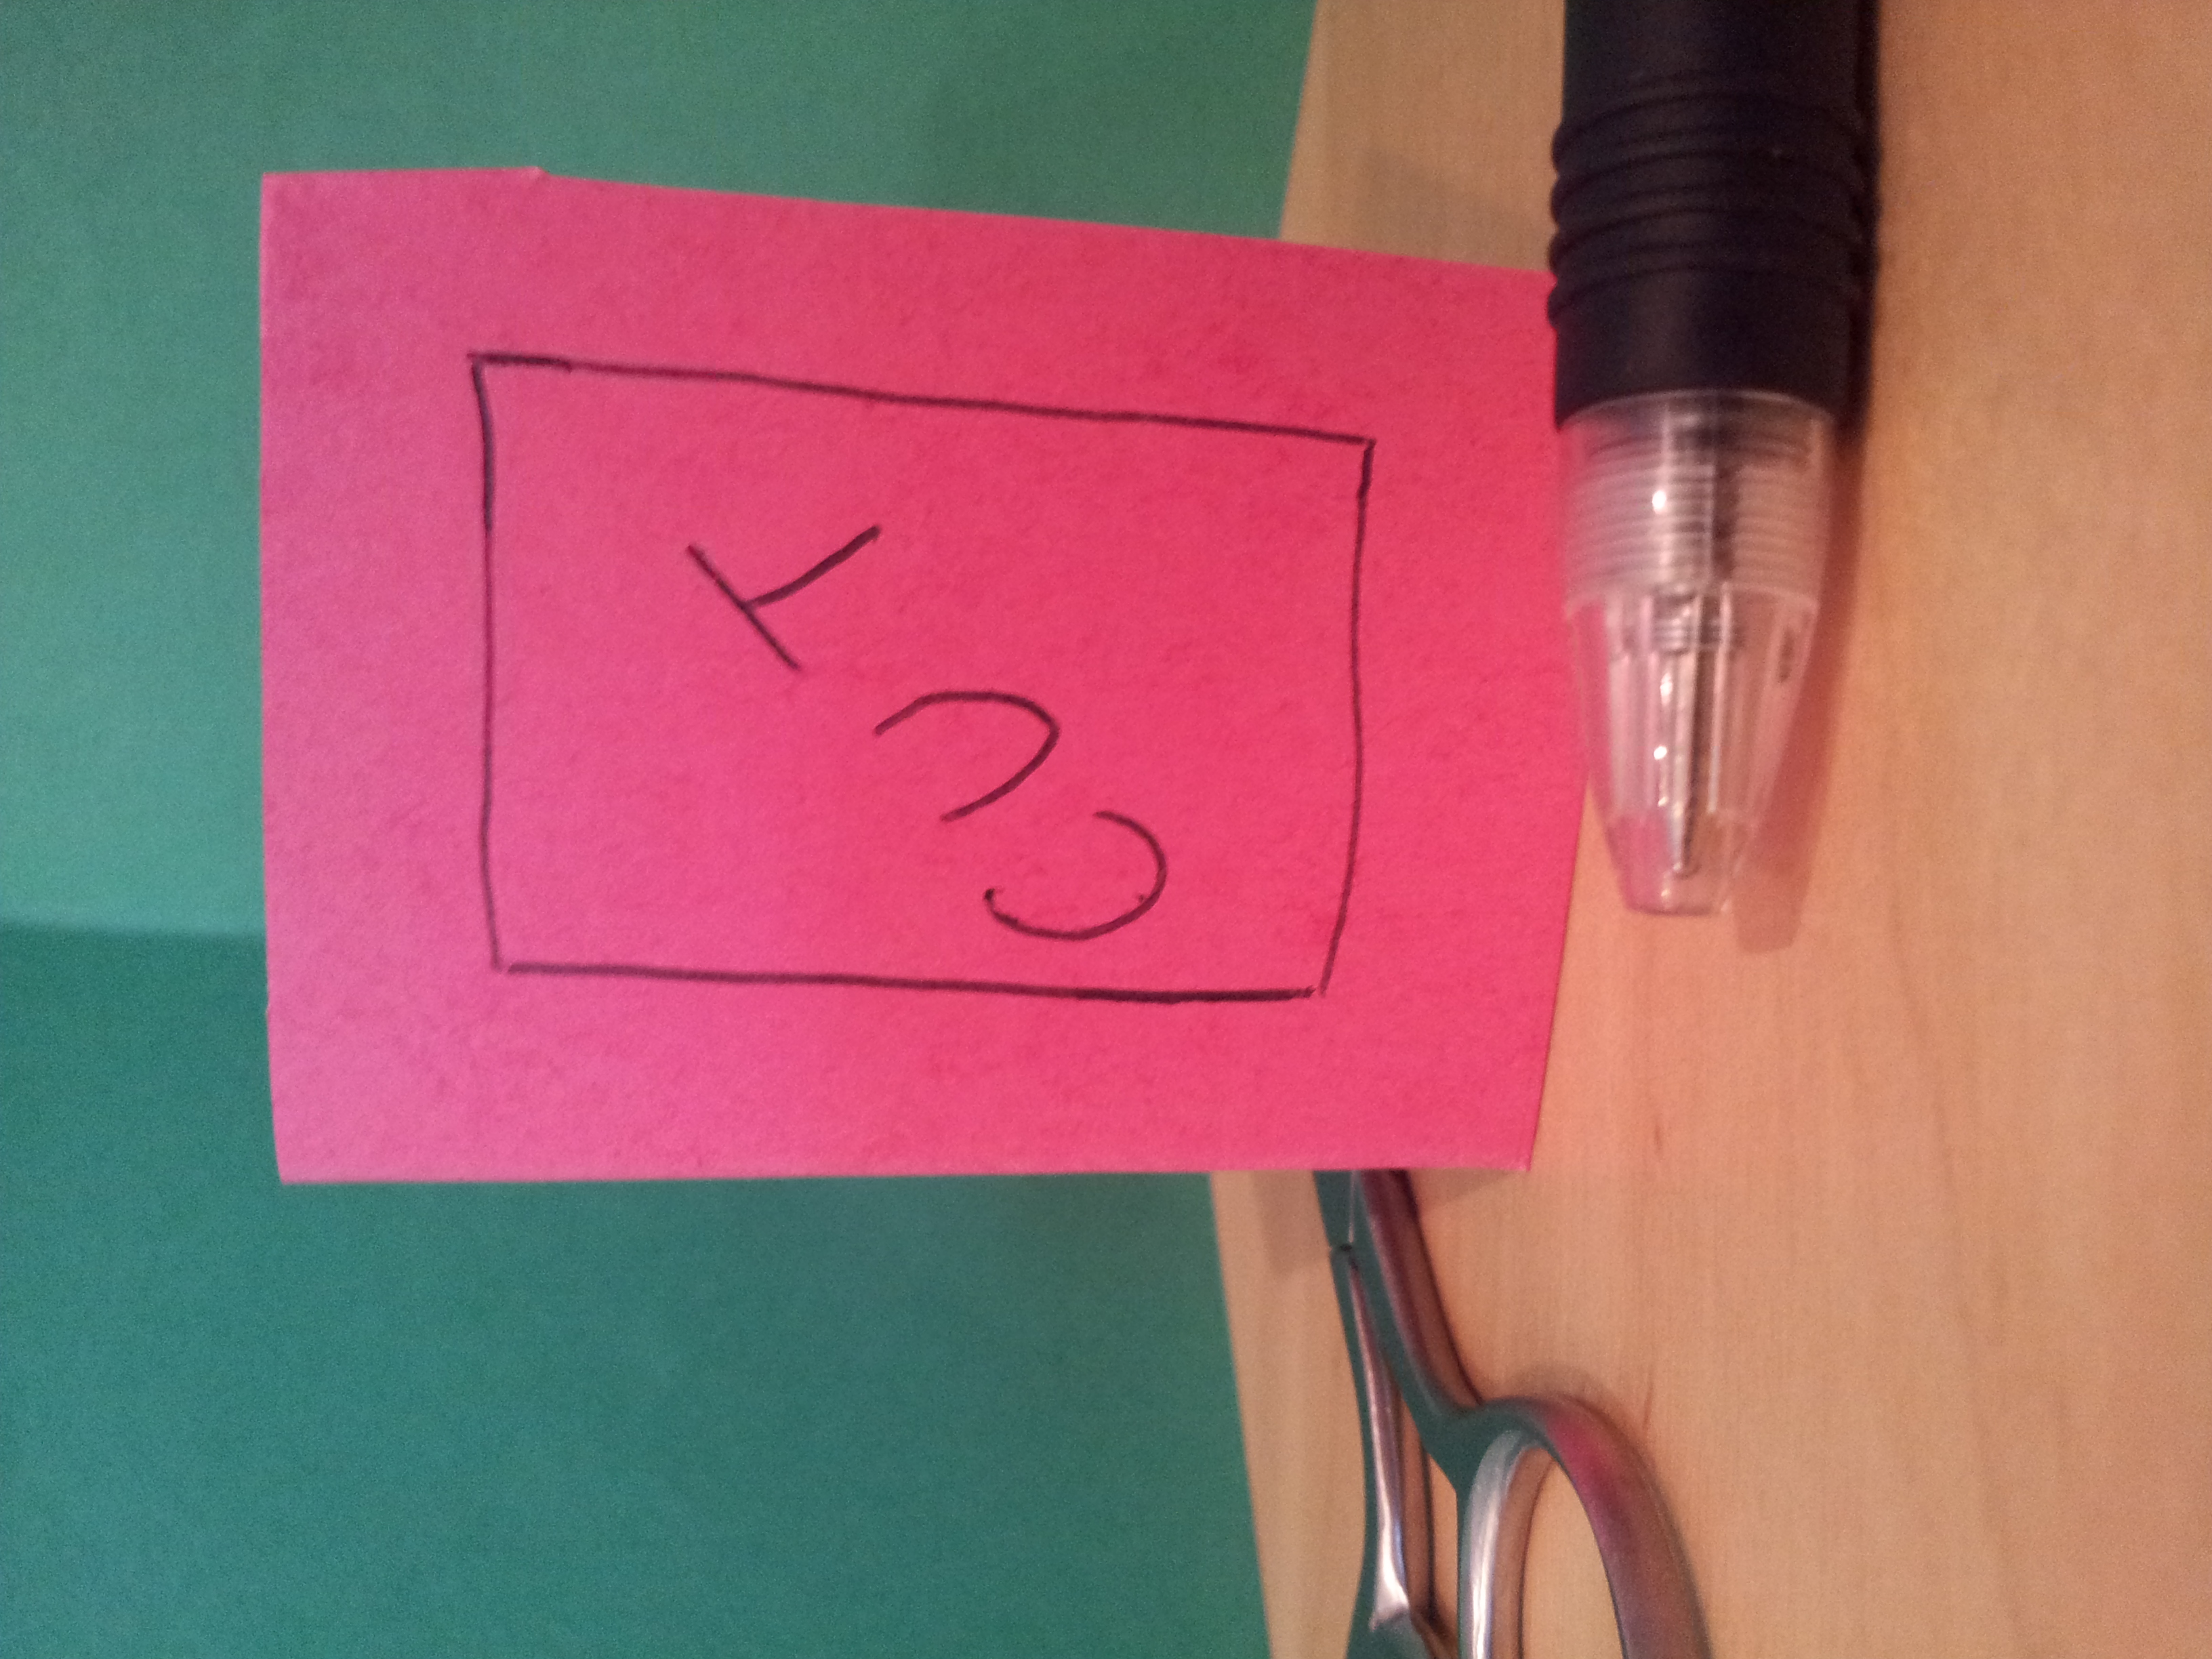
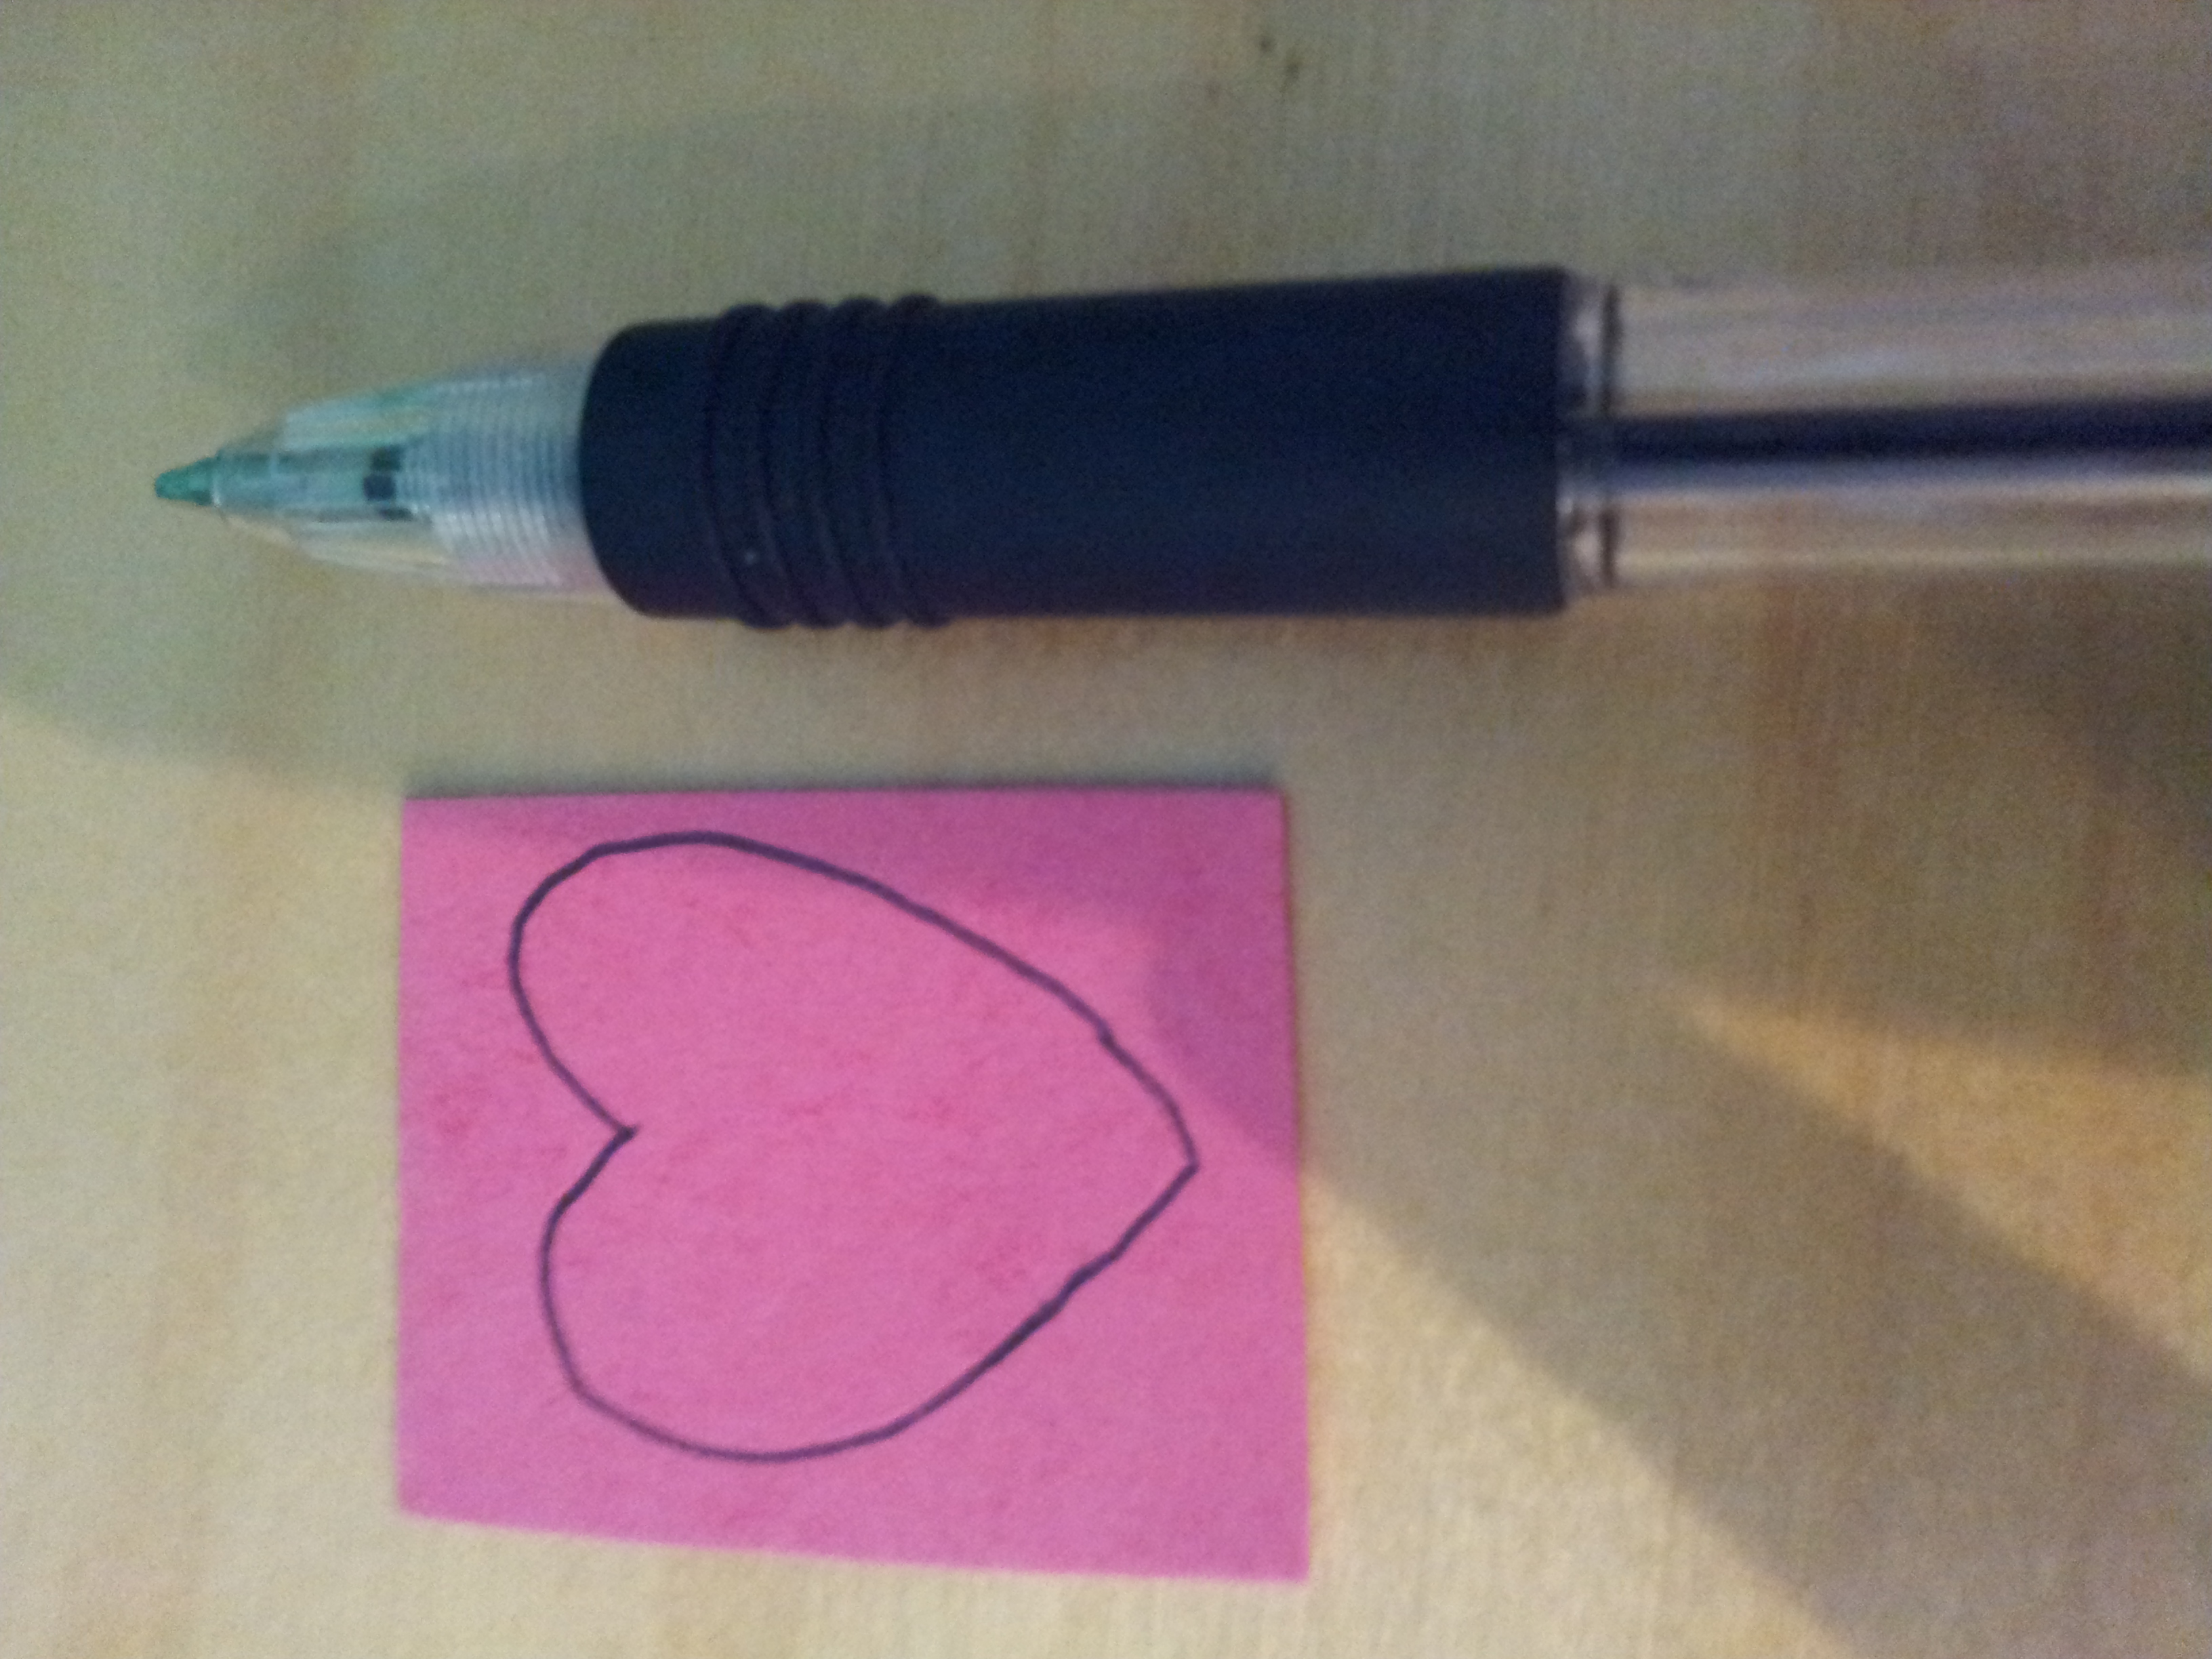
2. On the cut out square, draw a shape and then cut it out – this could be a cake, a cat, or someone on a swing.
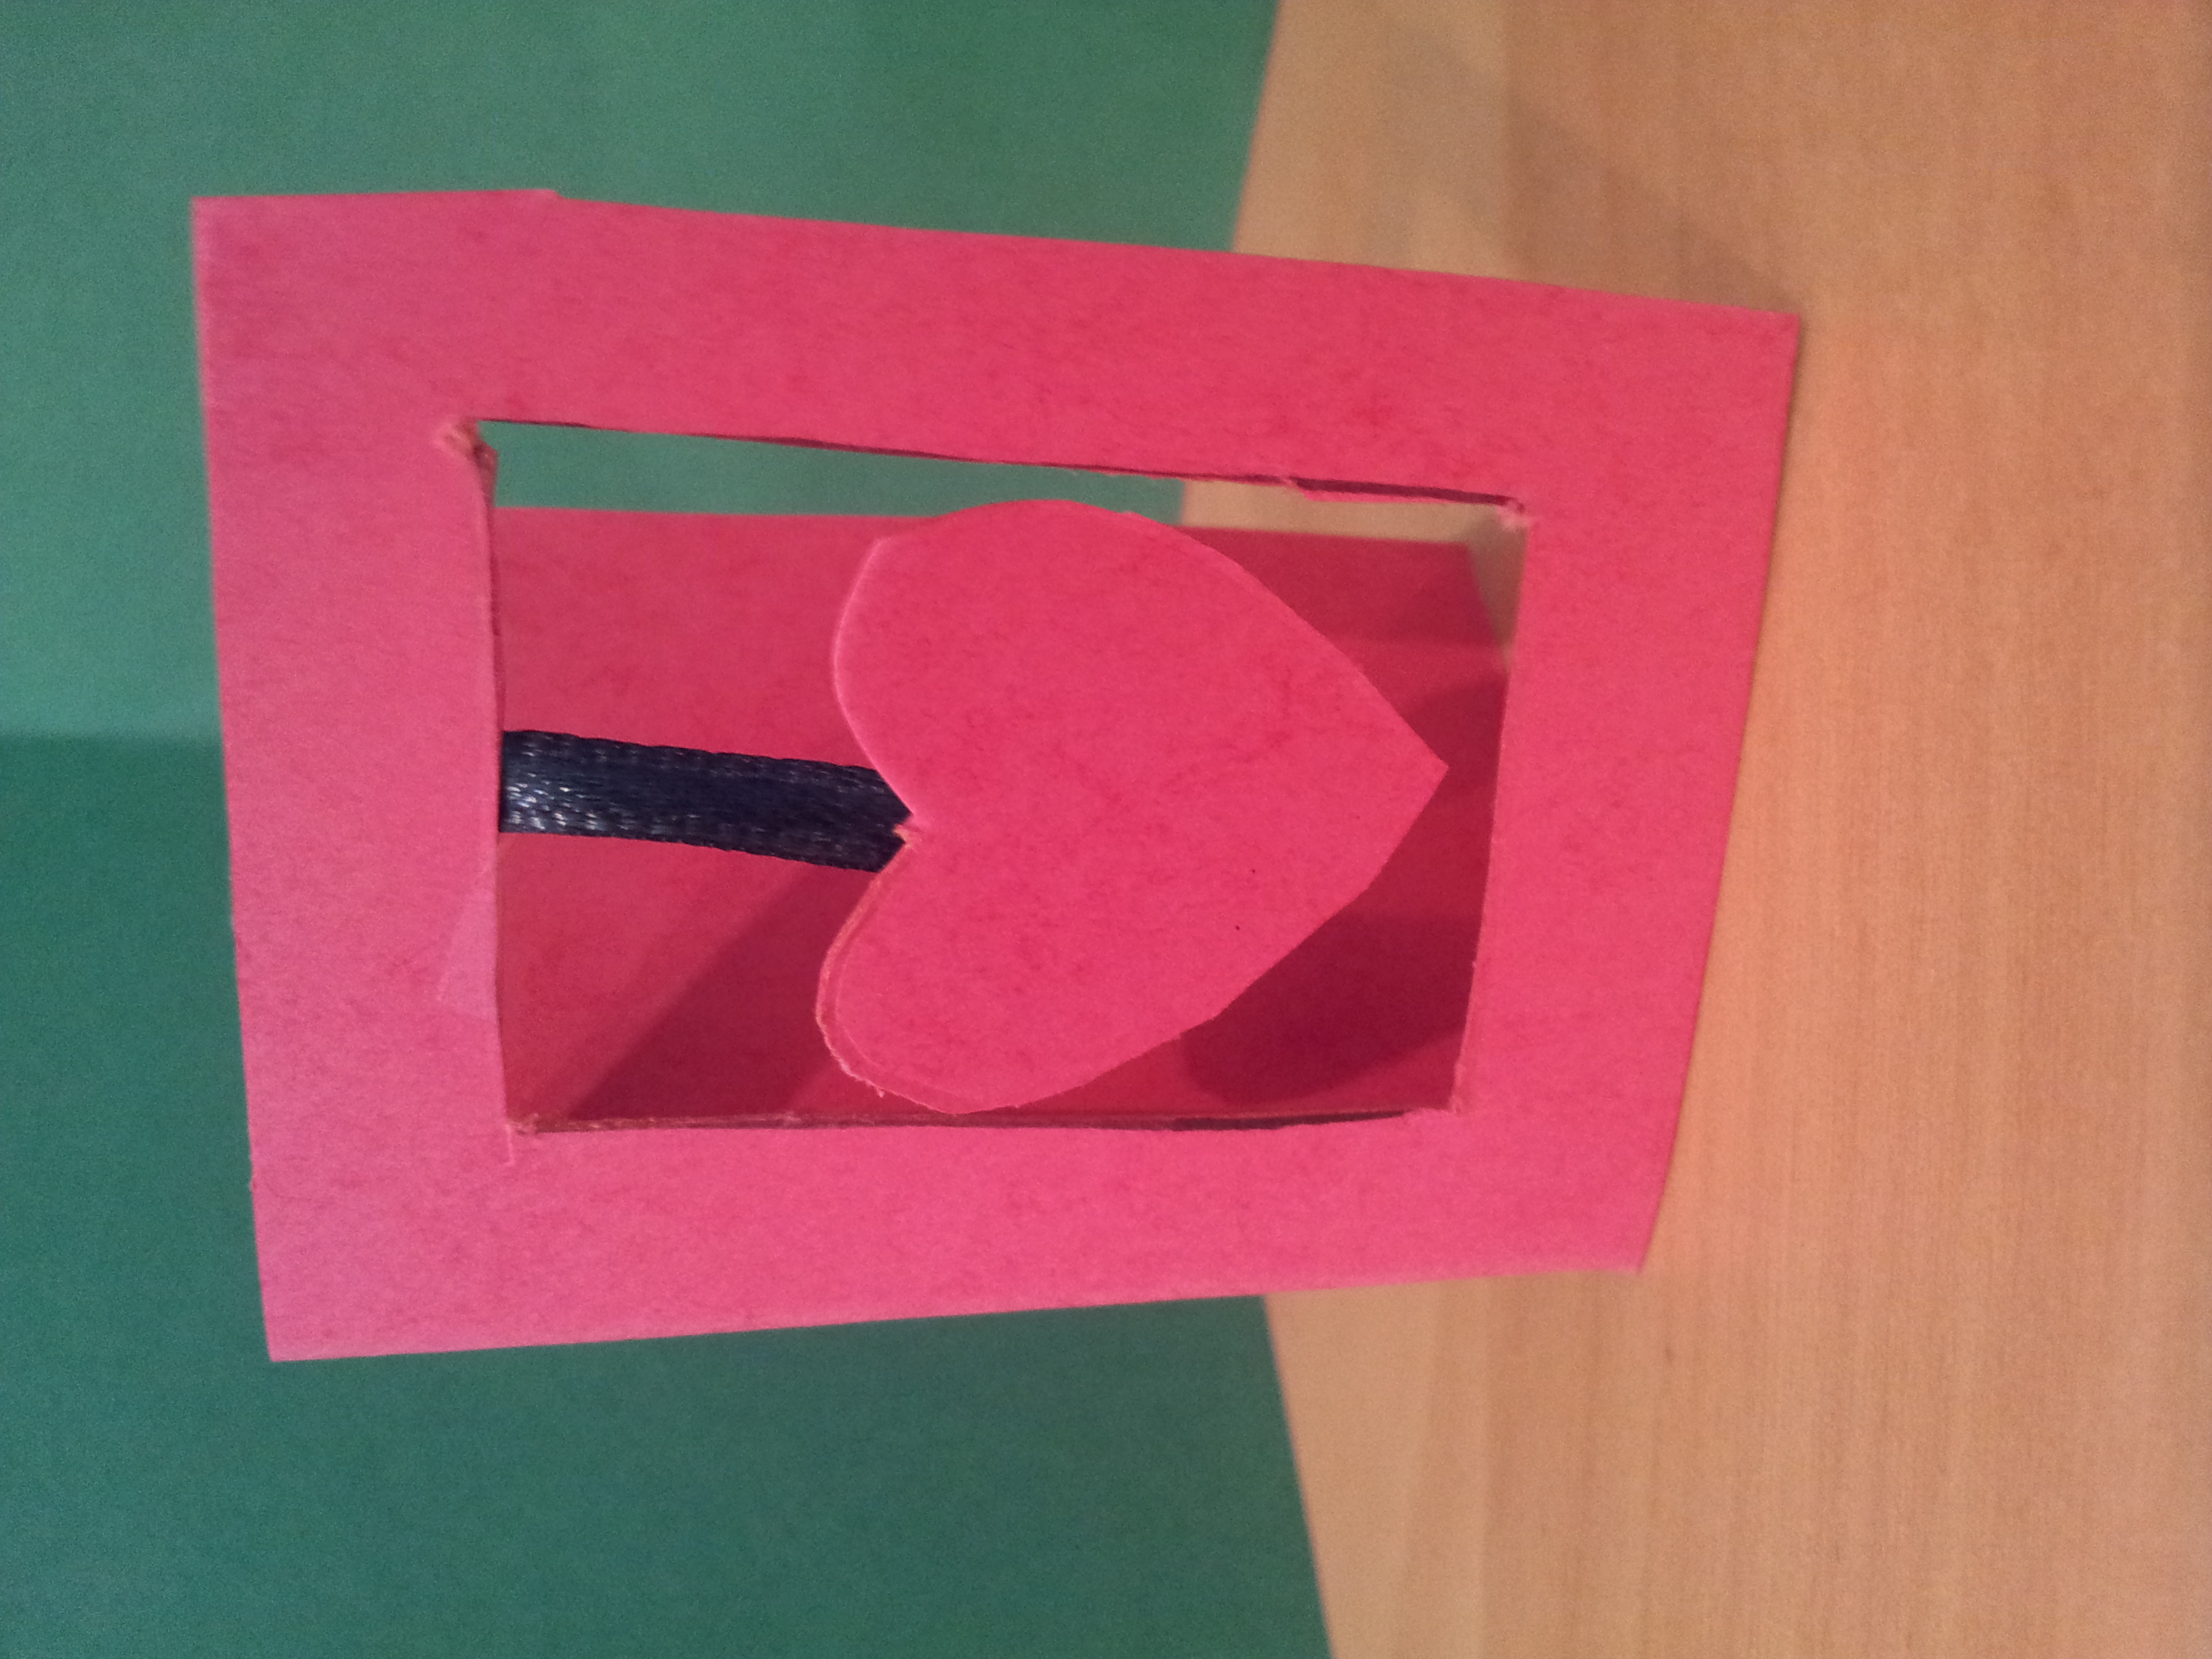
3. Take a piece of string/thread and attach it to the back of your cut-out thing and the inside page of the card (the inside of the frame page). And let it swing!
The Growing Card. (Beware this card can involve food with legs and arms!)
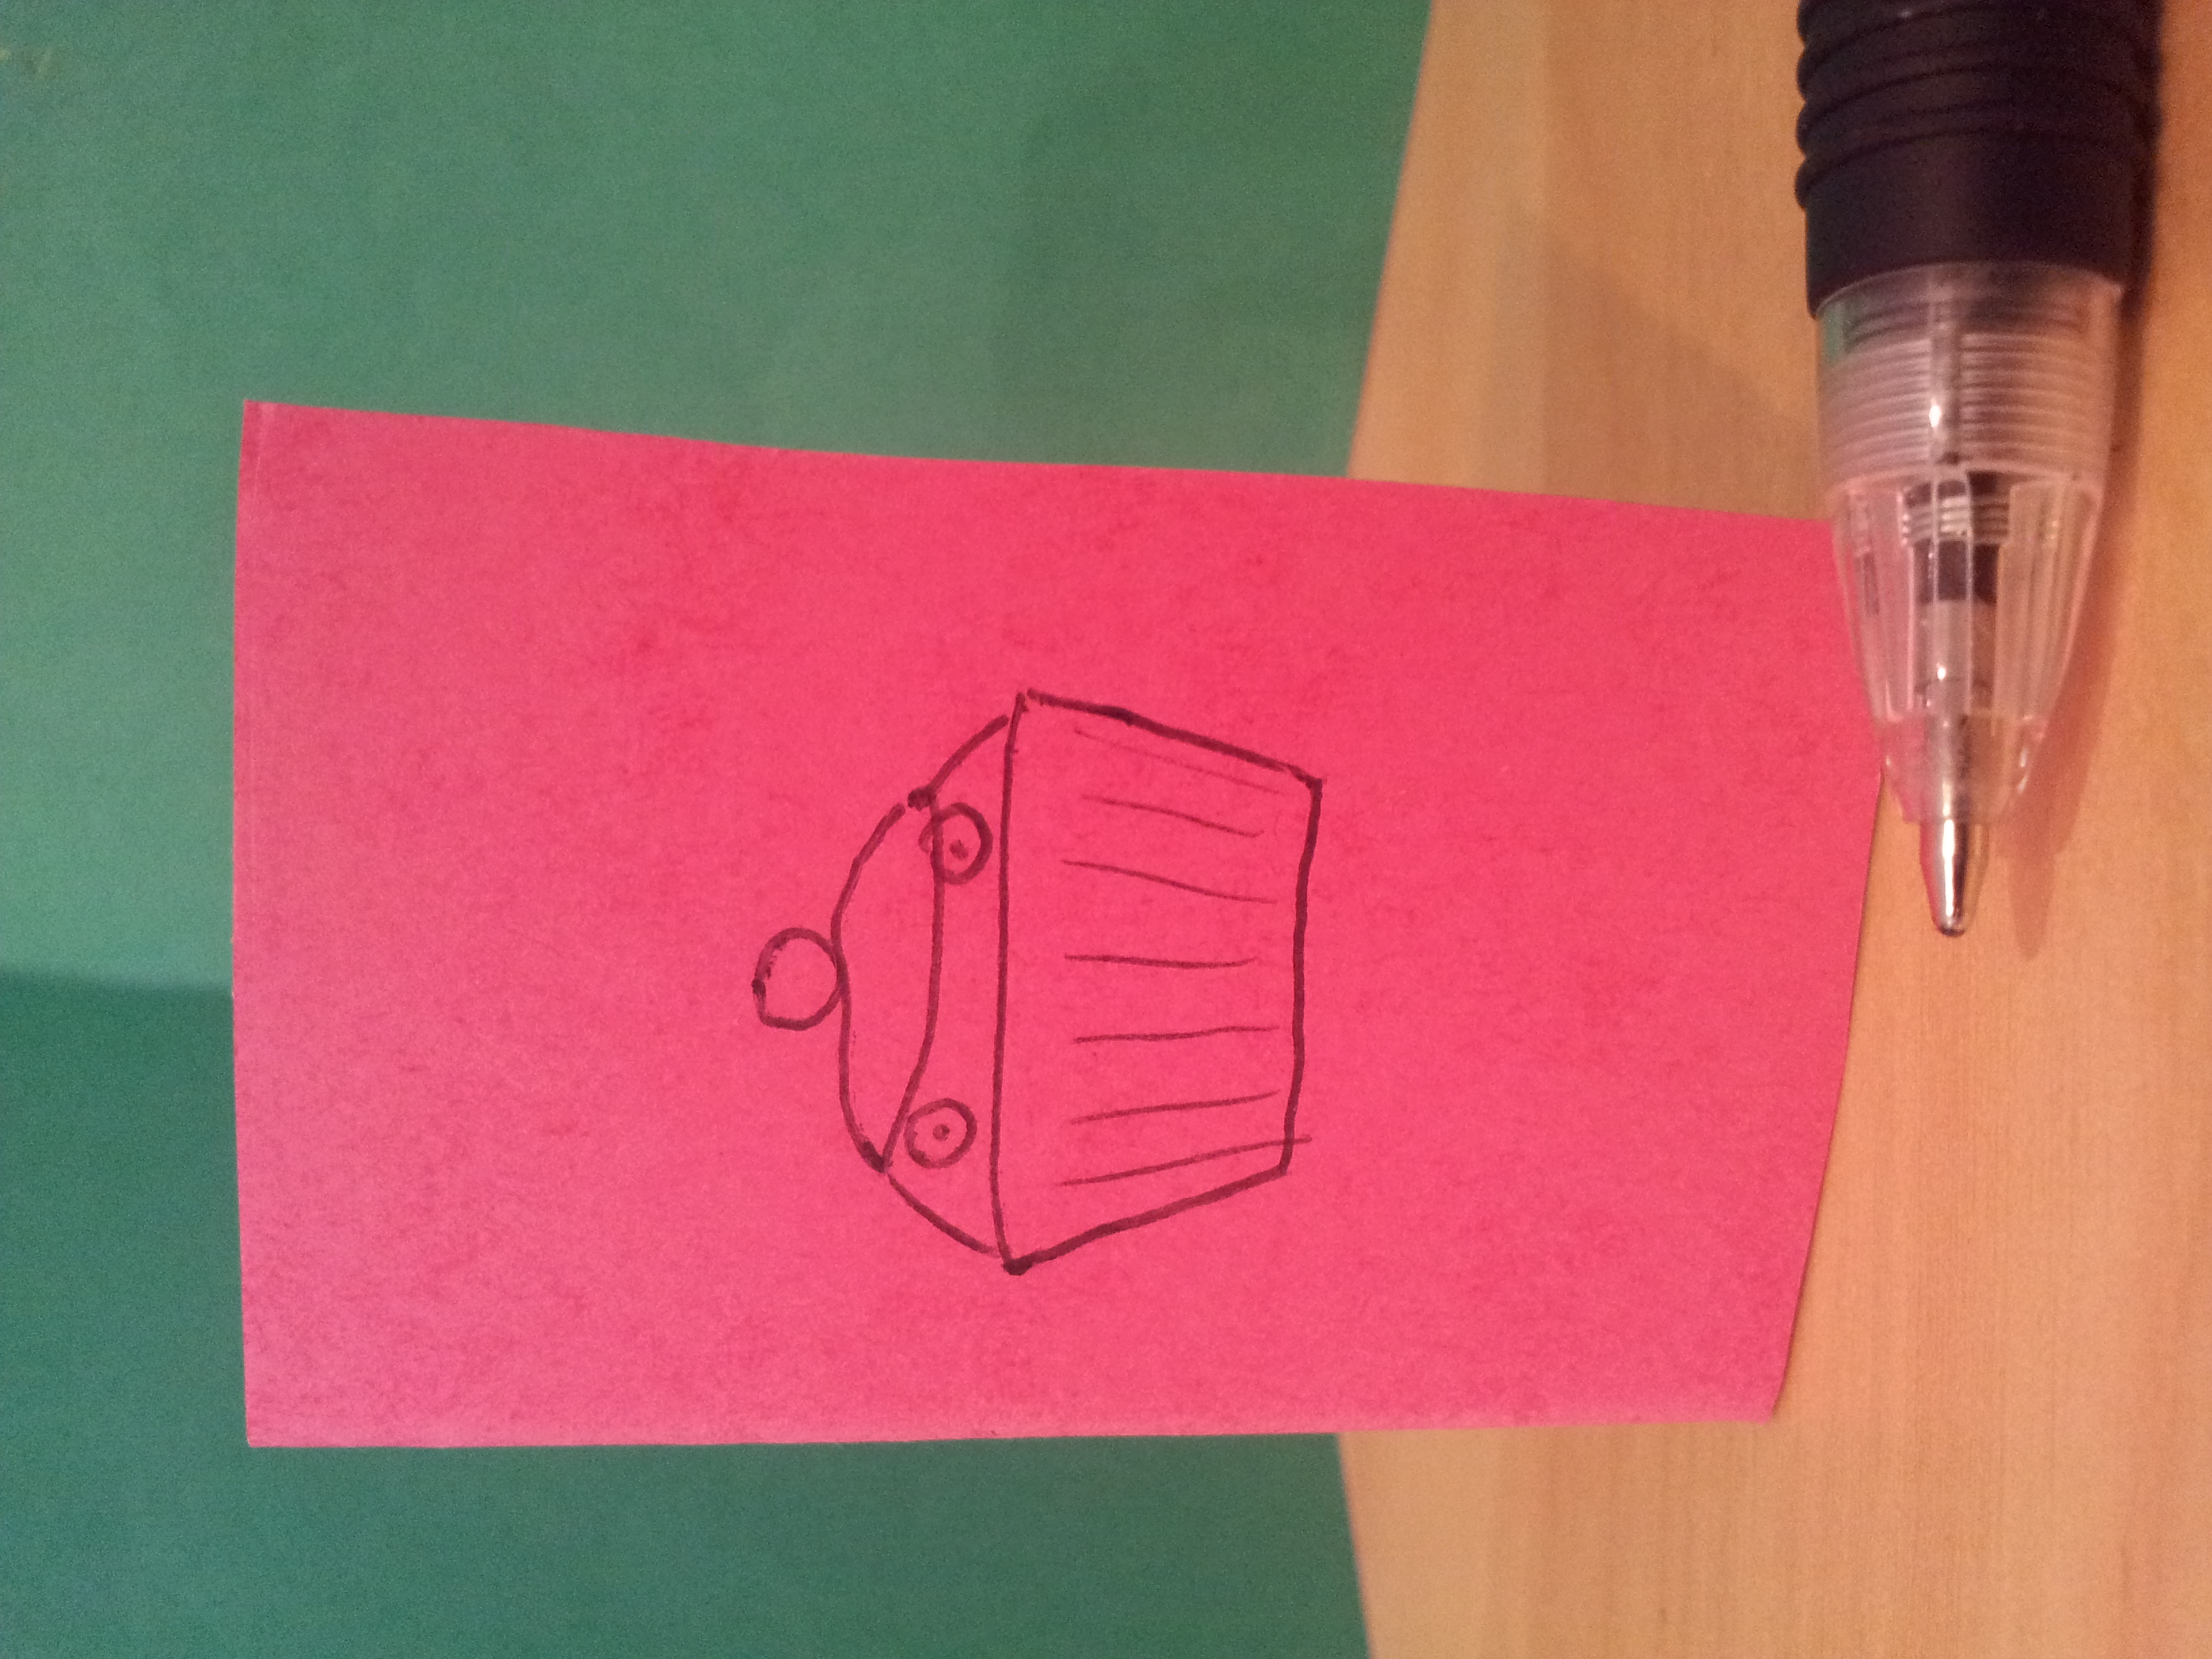
1. Draw a picture on the front of your card, let’s say a cupcake.
2. Cut out four strips of card (any length you like; these will be the legs and arms). Decide where you want each leg/arm to start and then snip a slit in that place, the same width as the strip of card you are using as that limb; the snip should be just wide enough for the strip of card to go through.
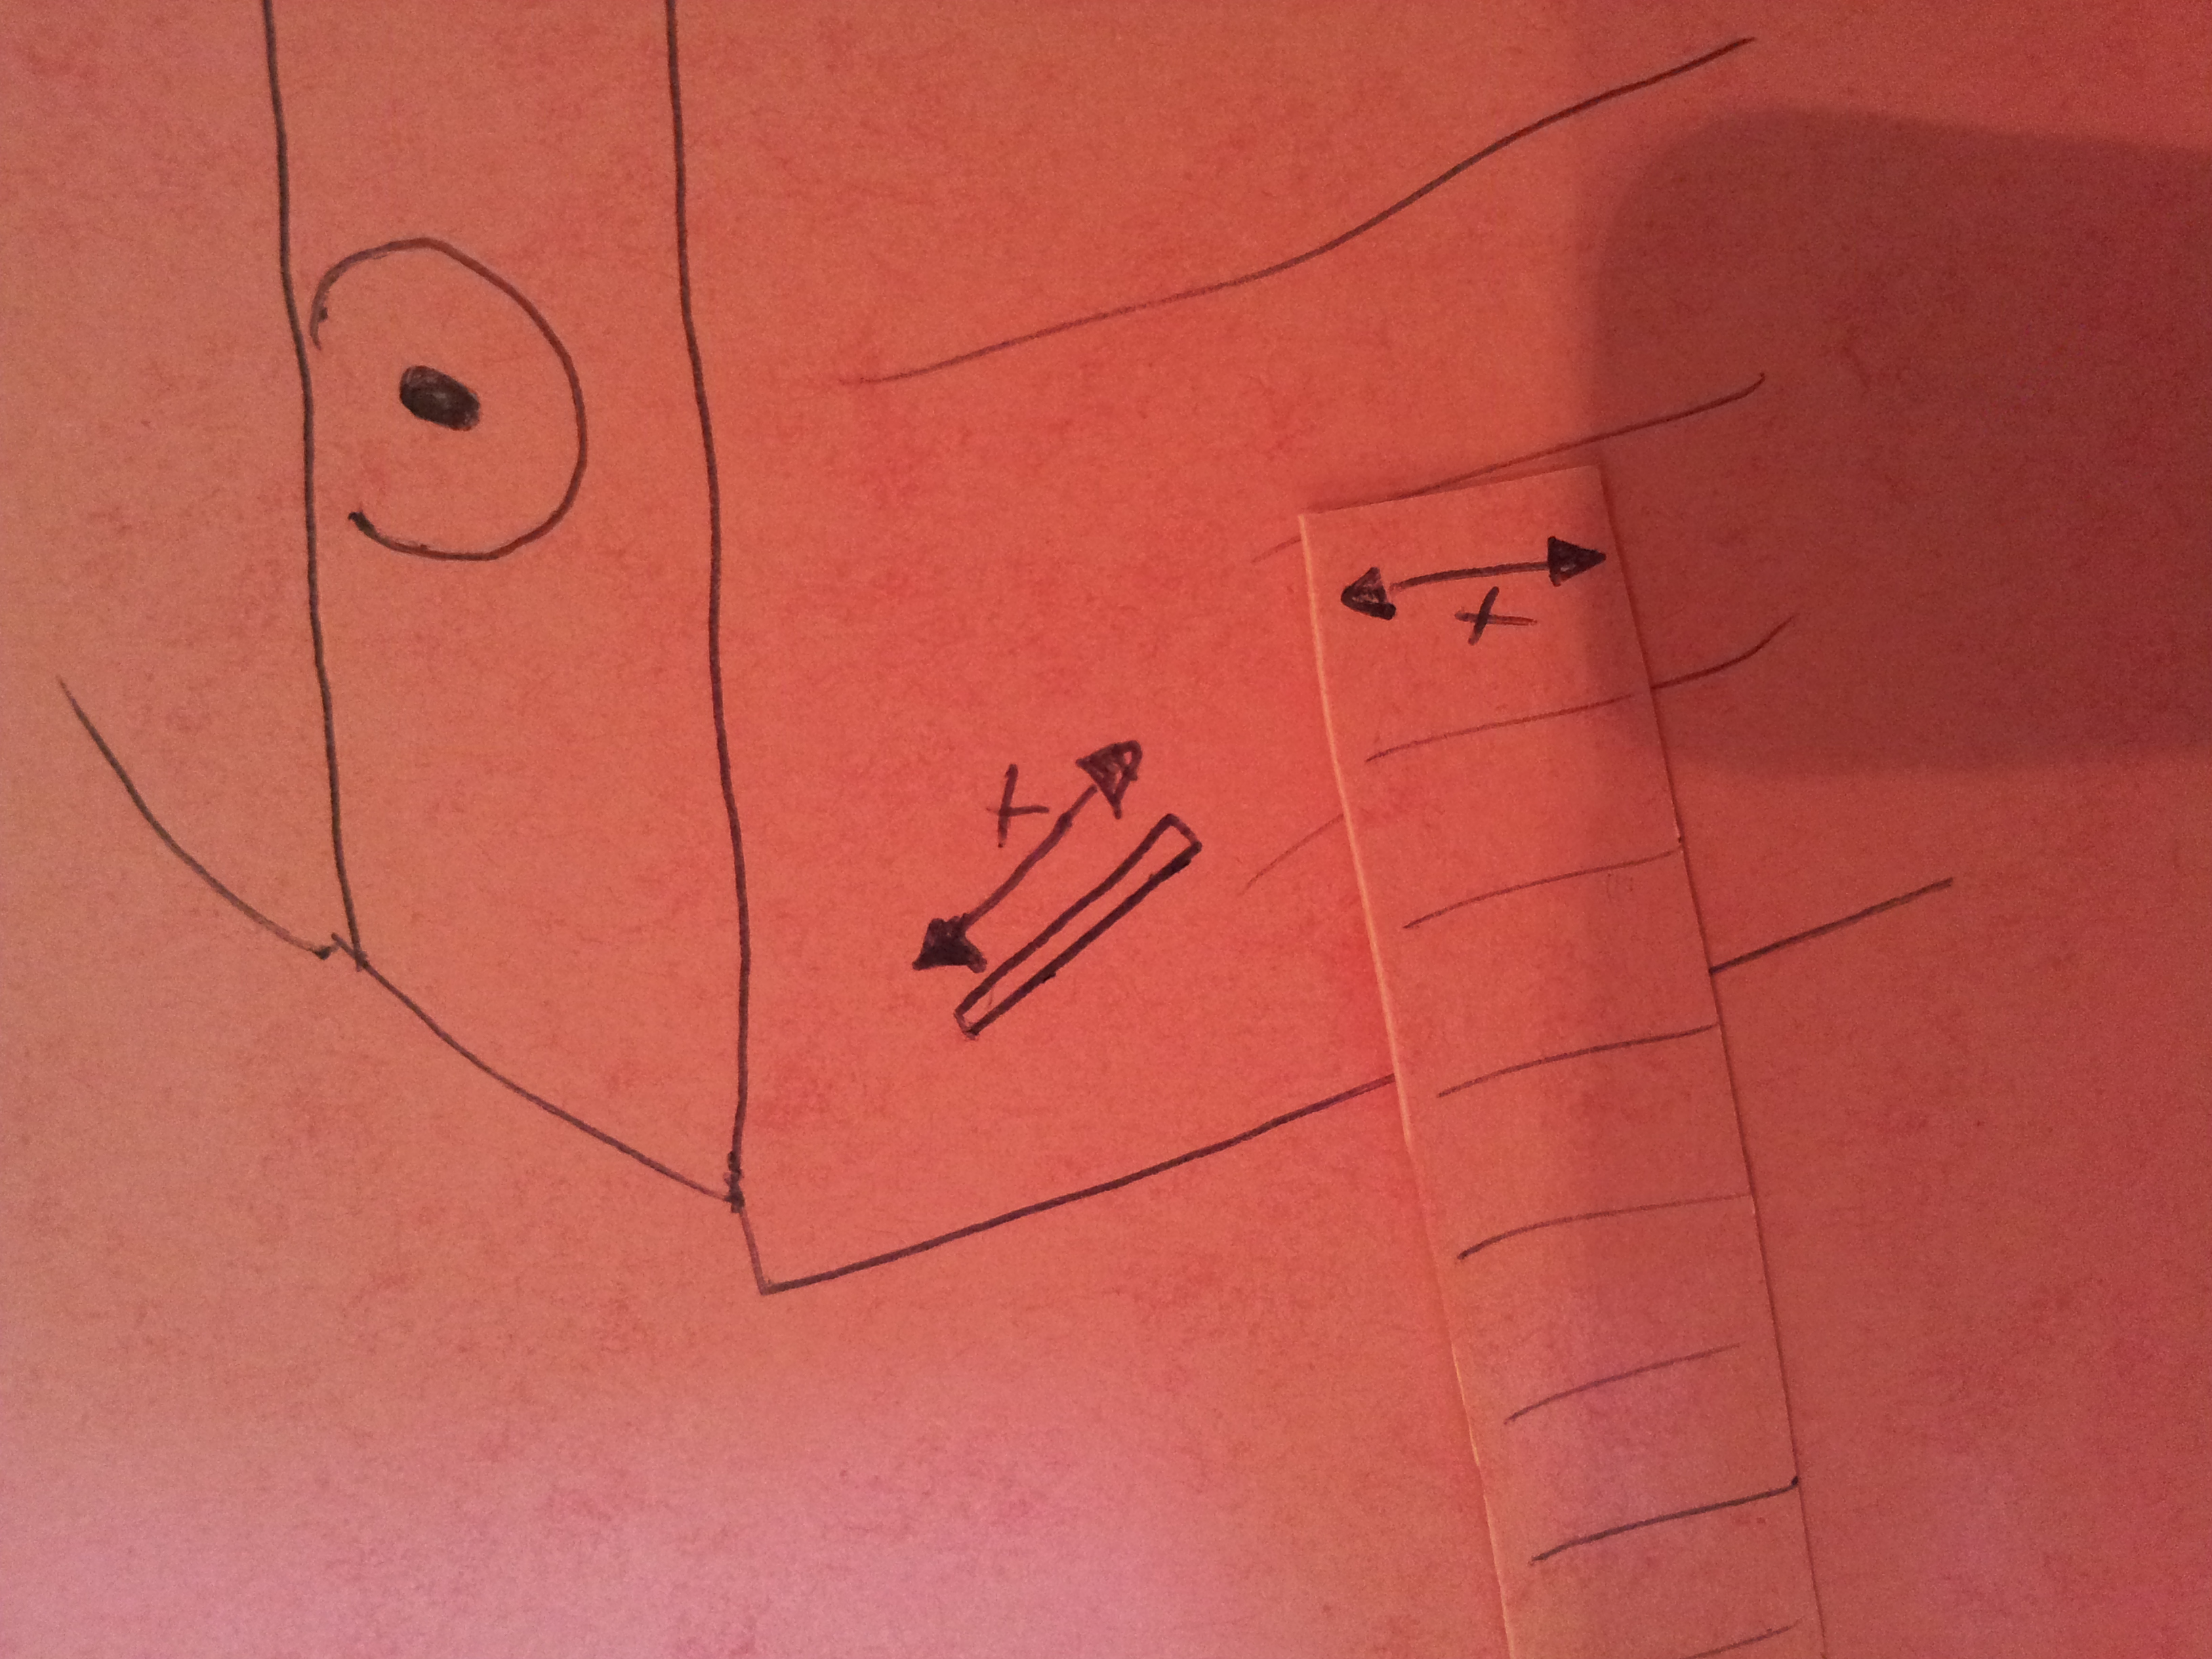
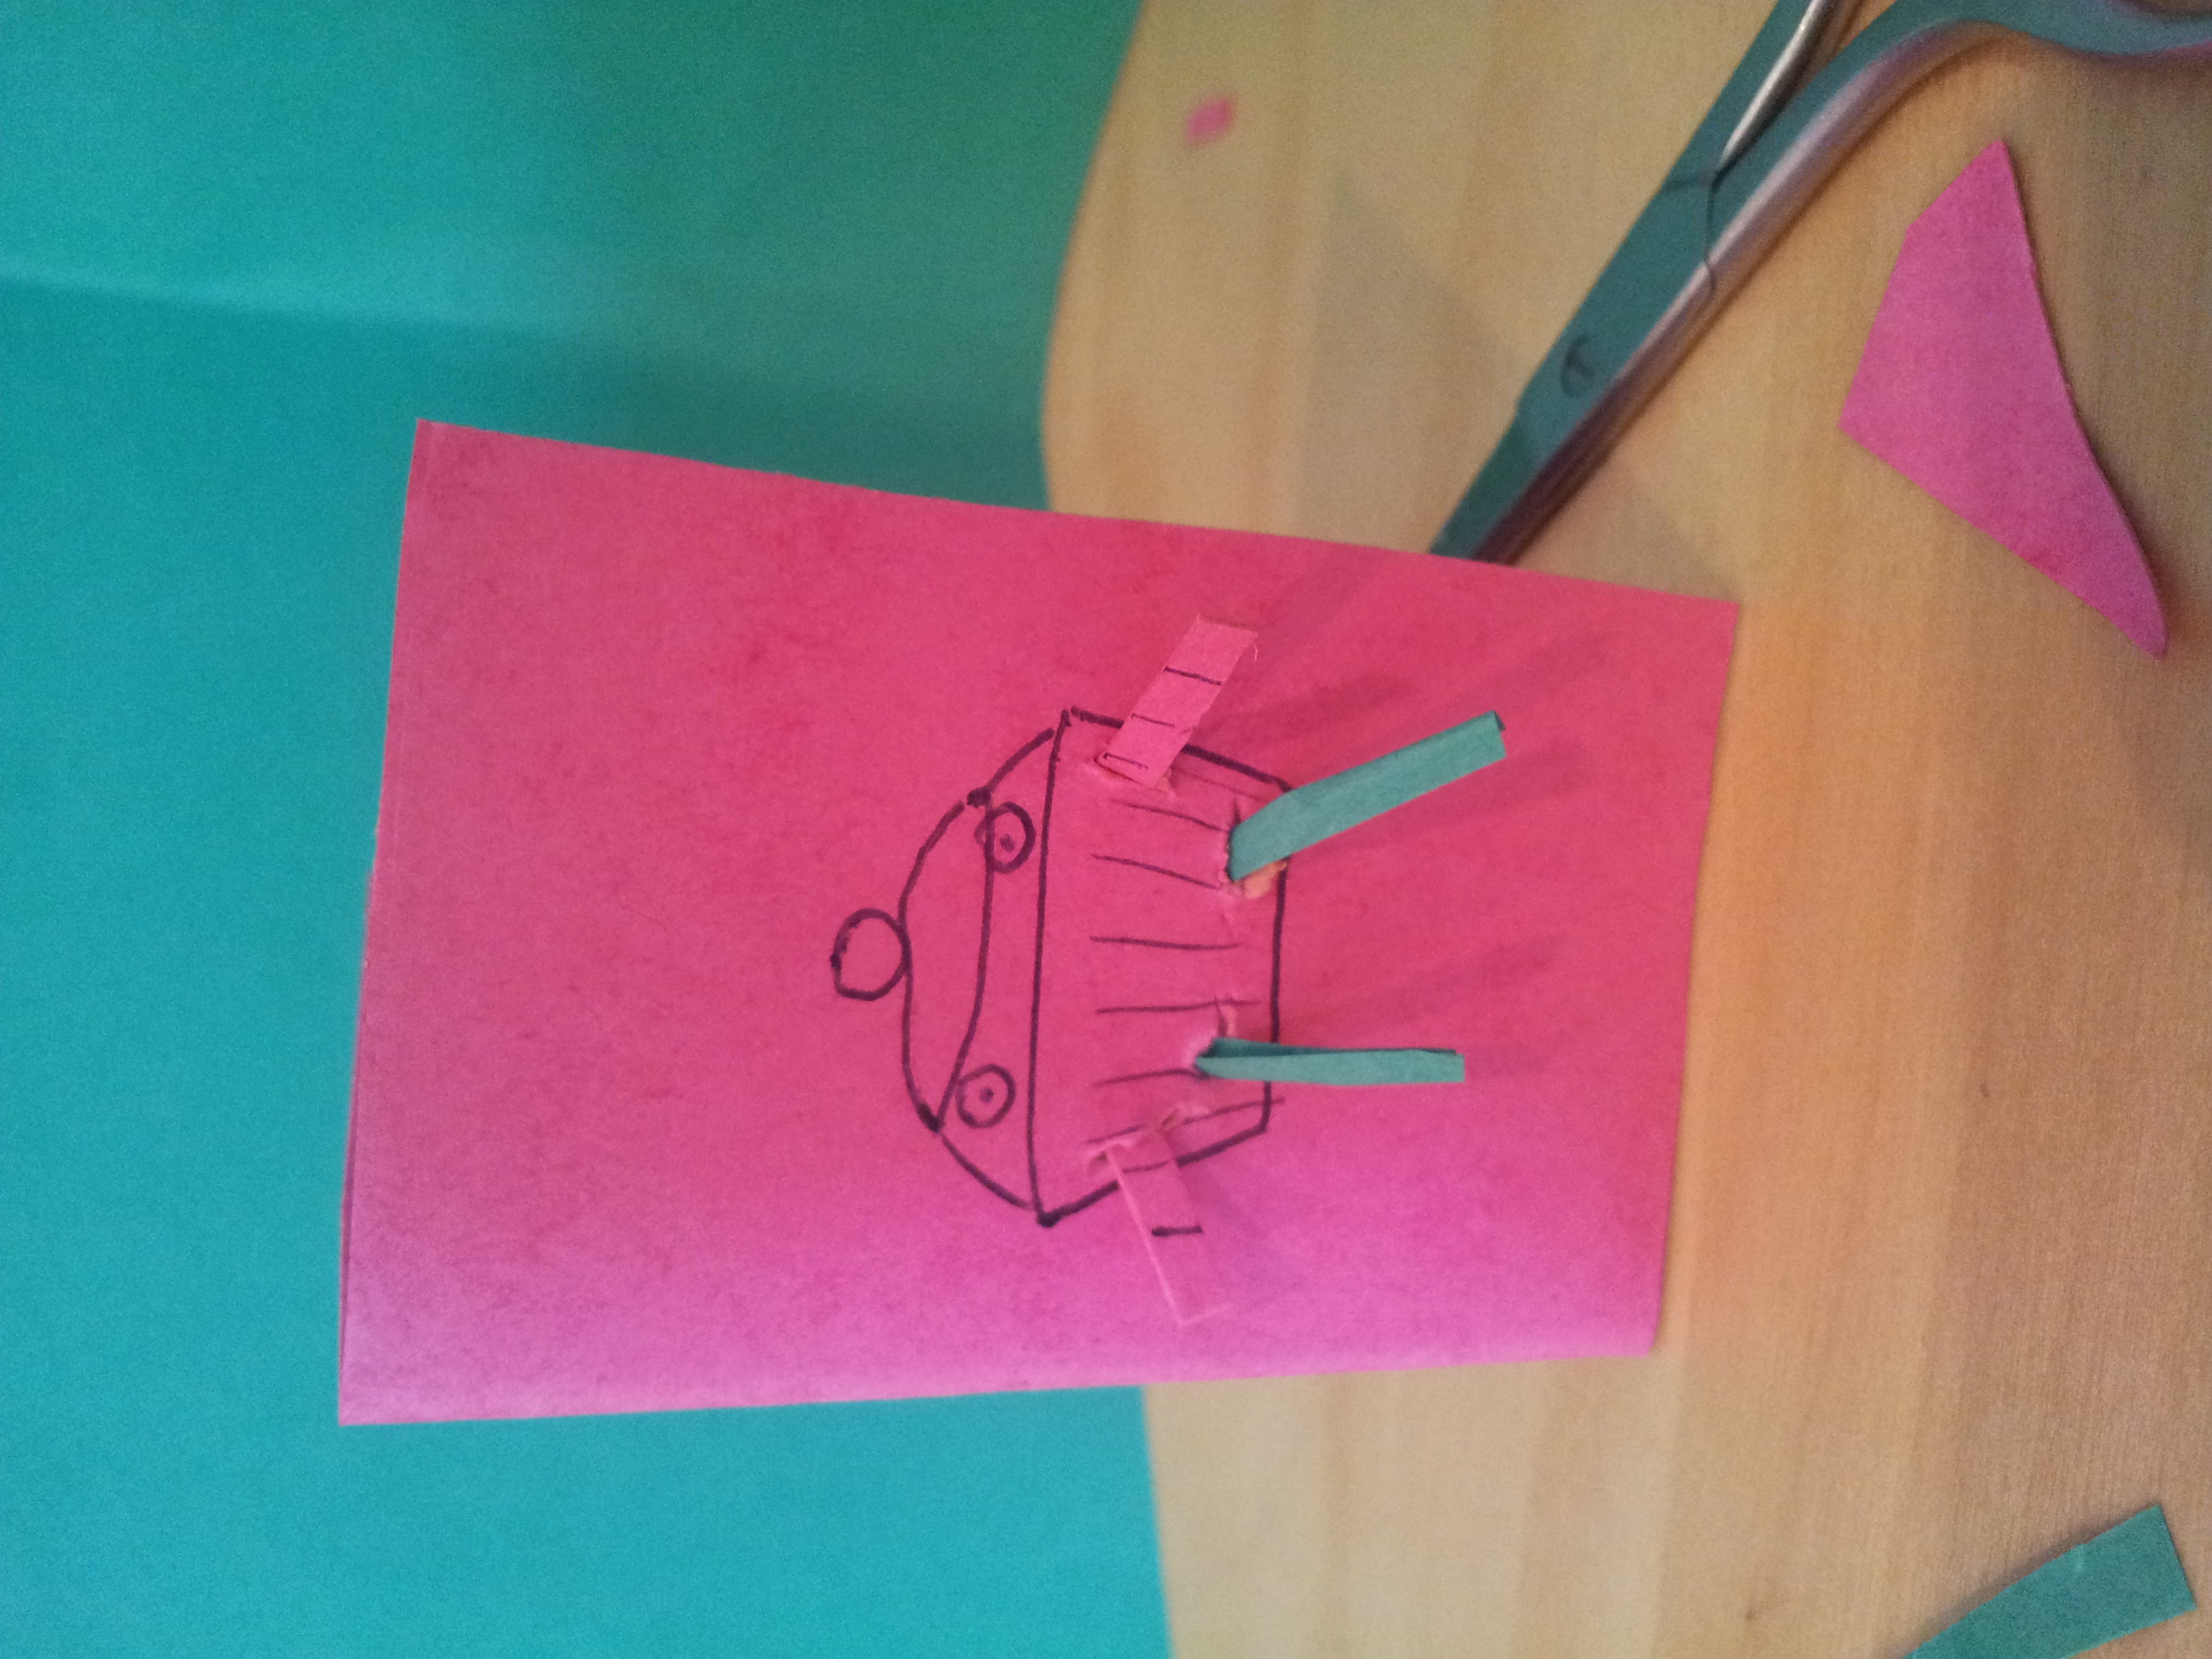
3. Cut out four more little strips of card, just wider than the width of the strips for arms/legs; these will be the anchors. Push the arm/leg strips through their respective slits and then, opening the card to the inside, attach the anchors to the ends of the arm/leg strips; the anchors should not be visible from the front – attach them to the ends on the inside.

4. And done! You can now make your cupcake-growing-legs-and-arms-card!

Card-making is gunna catch on. I know it! This time next year we’ll all be going crazy over Craft Off! Just you wait!
No comments yet, fill out a comment to be the first


Leave a Reply