December 9, 2014, by Matt Davies
Model Making: Part two by DHC Leonardo Fellow James E Smith.
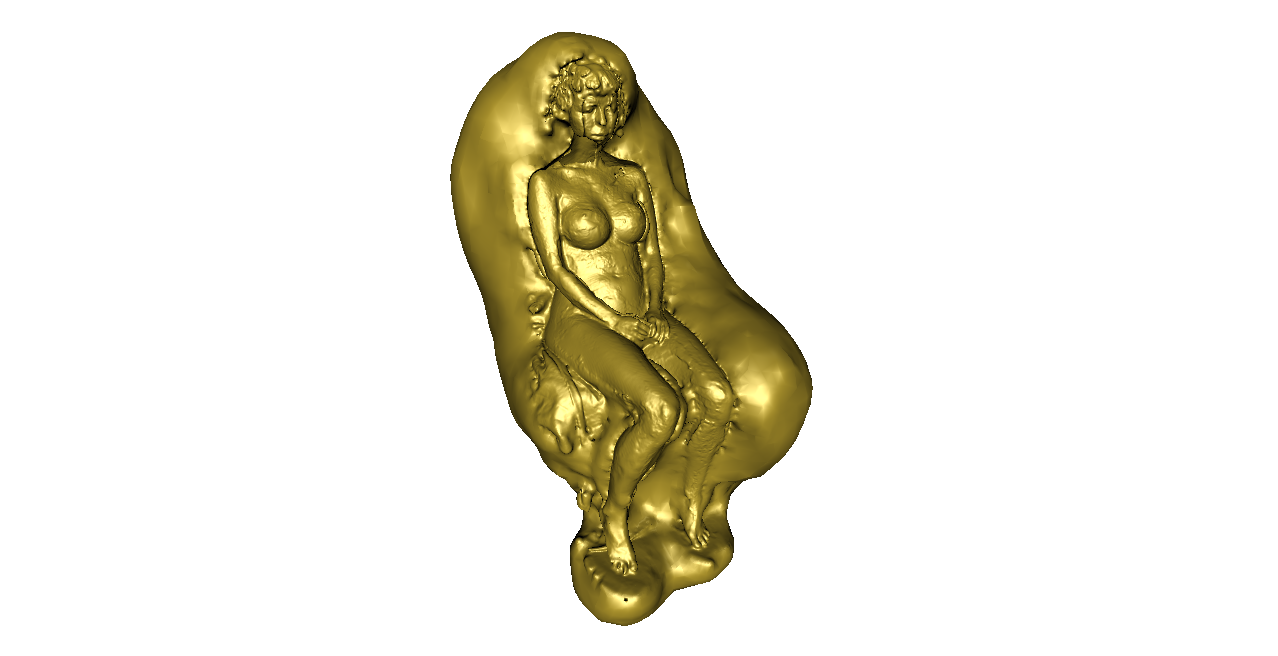
Using textures in Meshlab to see what the object might look like in different materials. © James E Smith
In my previous post I wrote about the scanning and video element of my work ‘Model’. In this post I’m going to focus on my first experience with 3D modelling software and 3D printing.
From the scanning session with Marta I was left with an STL file. This is a ‘point cloud’ or in other words millions of tiny dots that the scanner captured of Marta’s body. I didn’t really know anything about 3D printing or how I was going to turn this information into something palpable; I just assumed that it was possible. I looked into hiring a freelancer through the site Odesk but I was worried that my data would be altered and cleaned up too much. I wanted to do as little as possible to get what I had captured turned into a physical object without it being cleaned up, as this would necessitate someone –be it me or anyone else -making subjective decisions about how it was going to look. It just needed to stand up on a base and actually be printable.
An STL file is what a 3D printer uses to make an object. This is effectively a mesh; a surface with no holes in it, made from different sized polygons. Essentially the more polygons the more detail you have, but at the same time you don’t want a complicated file that is going to put too much demand on your computer when processing the file, or on the 3D printer, so often you can simplify your mesh by subdividing polygons. I didn’t know any of this until I started trying things out, believing that I would not need any help and could learn the basics myself. I downloaded Meshlab, a free open source software programme for working with point clouds in .stl .obj and various other 3D files. I watched loads of (often frustratingly long and badly made) YouTube tutorials on how to do certain things in Meshlab and then I simply started playing with it and figuring things out.
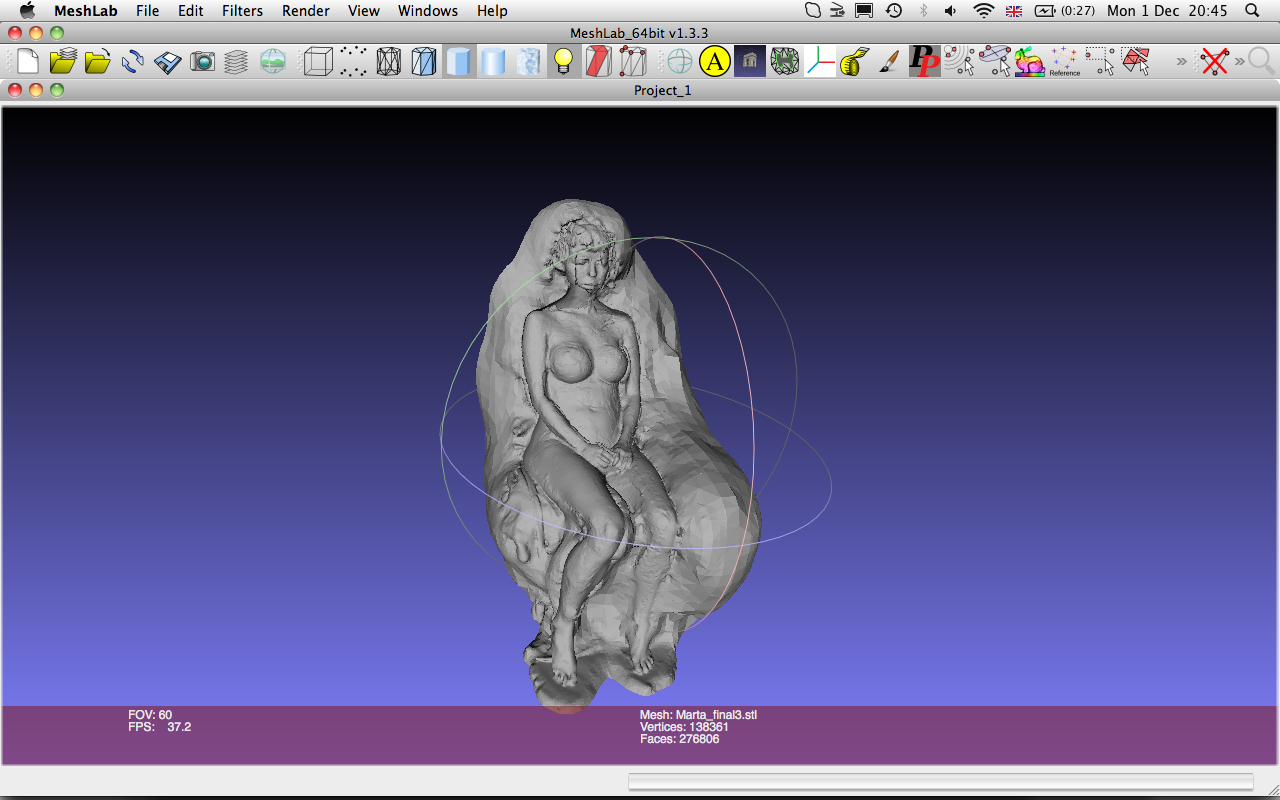
The final STL file in Meshlab. © James E Smith
The file was huge and often I’d try filters and commands that were just too much for Meshlab to handle. It would often crash and many times I wondered if I would be capable of getting what I wanted without seeking help. I was looking at printing my object using an ABS plastic filament, but to do this meant I’d need to make my object hollow because solid objects made of ABS (Acrylonitrile butadiene styrene) can sag as they dry which causes the printer to malfunction. Making the object hollow required creating an internal mesh that is basically a scaled down version of your original mesh to go inside, and it was trying to generate this that proved too much for Meshlab on my computer. The ABS technique which is essentially a glue gun moving around oozing out melted plastic which dries and can then be built upon. It also requires a scaffold made of a different material that supports overhanging parts of an object which is then dissolved and broken away after printing. The finish is often quite ugly and the level of accuracy can be poor on cheaper printers. I started to look into processes that using powdered material that is hardened using a laser. I spent hours working out how to get round this problem and indeed I found that many contributors to online forums had experienced exactly the same problem. I started to research more into materials and discovered the SLS process. It was more expensive but the finish texture was great and the process really interested me.
Here’s the company I used demonstrating the technology with metal.
Having discovered this I was now looking at creating something that didn’t have to be hollow anymore, alleviating the trouble of creating the internal mesh and giving me a solid object. What a breakthrough this was! It freed me up to just work out how to make a solid mesh of my point cloud data from the scan. Essentially what I learned to do- again using Youtube videos –was, effectively, to stretch a skin over the data and produce a complete surface, nothing complicated, just the technology doing the work with a few prompts, commands, and a few algorithms. There were a couple of parameters I needed to play with so I did a number of tests (in one case simply changing a tolerance created a huge shard like protrusion to stick out a few meters from my model) I had to work with a scaled down version of my original data so that it was something that the printer could actually print. 300mm on its longest side was as big as I could go so that’s what I worked with.
There was also some toing and froing between Meshlab and Netfabb, a programme that I had learnt was good for carrying out automated repairing. Often STL files can have all kinds of little things wrong with them, i.e. duplicated vertices and holes. I didn’t really know what I was doing, and it didn’t always matter to me how much of it I actually understood, I just wanted to get from A to B in the simplest possible way.

Repairing holes in Netfabb Basic and trying out what it might look like on a base. This was later removed when I felt I was changing it too much. © James E Smith
Eventually I got to something that was ready to print and looked like a human figure surrounded by digital inaccuracies and distortions. I was pleased I’d got here through teaching myself and once I had learnt the skills it was actually only a small number of operations to get from the point cloud to something that was ready to be turned into thin layers of nylon dust gradually being hardened by a laser.
I had to remove a bit of the base so it would stand upright, then it had to have one last check in Netfabb to repair any holes but finally the file was ready to print.
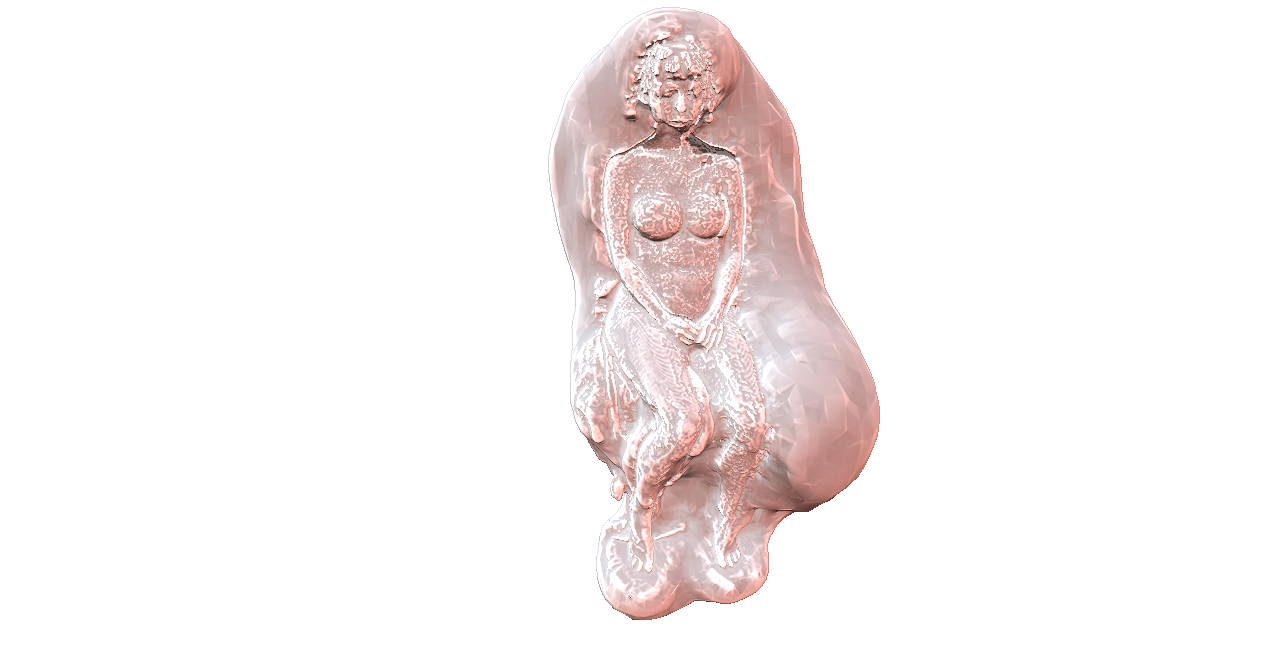
Using textures in Meshlab to see what the object might look like in different materials. © James E Smith
No comments yet, fill out a comment to be the first


Leave a Reply